|
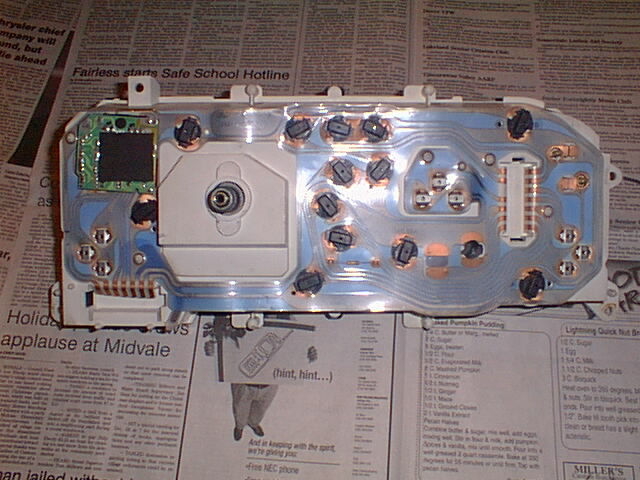
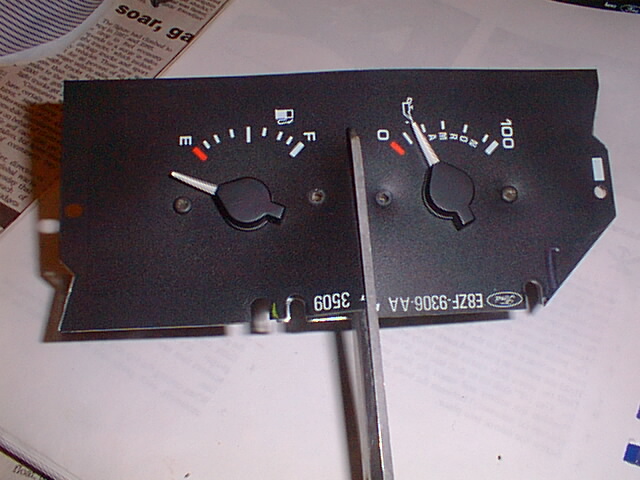
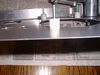
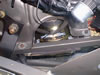
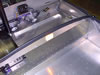
Gauge pod (front)
|
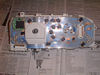
Gauge pod (rear)
|
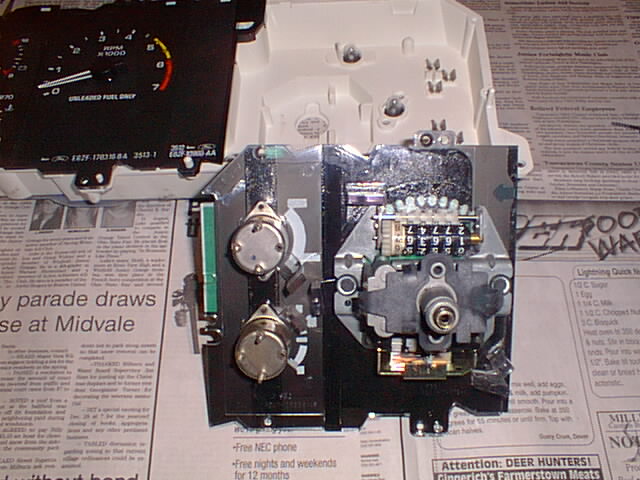
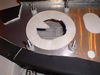
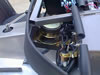
Speedometer removed from the pod
|

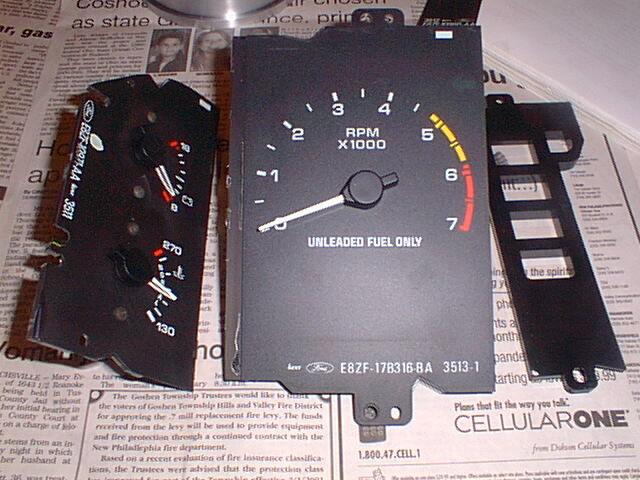
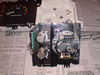
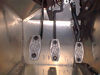
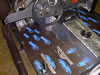
The gauges come out in four pieces
|
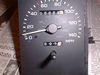
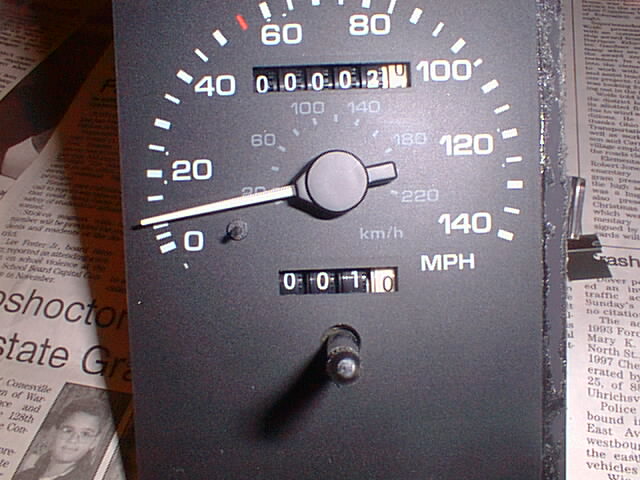
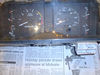
I felt a little
felonious when I reset the odometer to zero
|
|

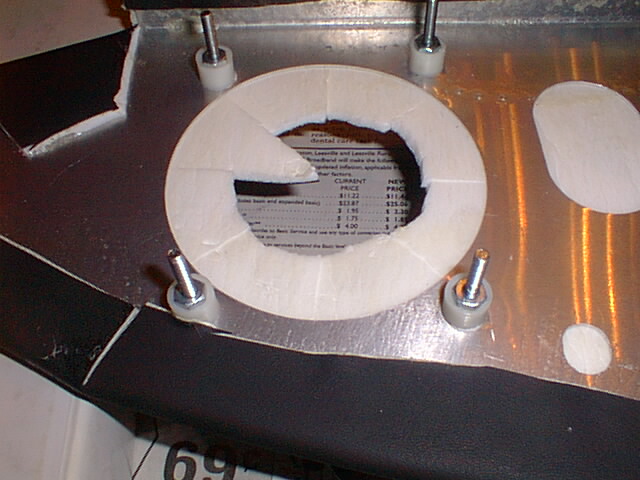
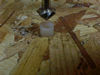
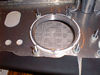
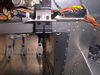
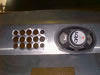
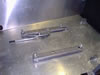
Cutting the small gauges
|
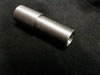
Counter sink the standoffs. I also shortened them by about 3/16"
|
I used machine screws to mount the gauges
|
Cut the cover away from the bezels. They are a press fit.
|
 Tach. Bezel
|
|
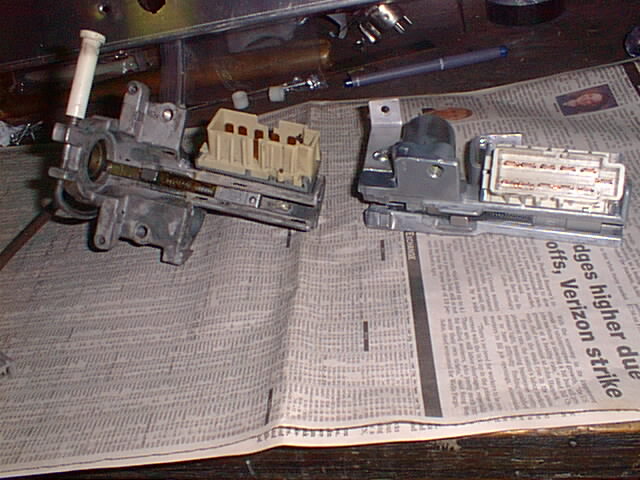
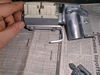
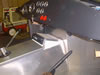
Ignition switch before and after trimming
|

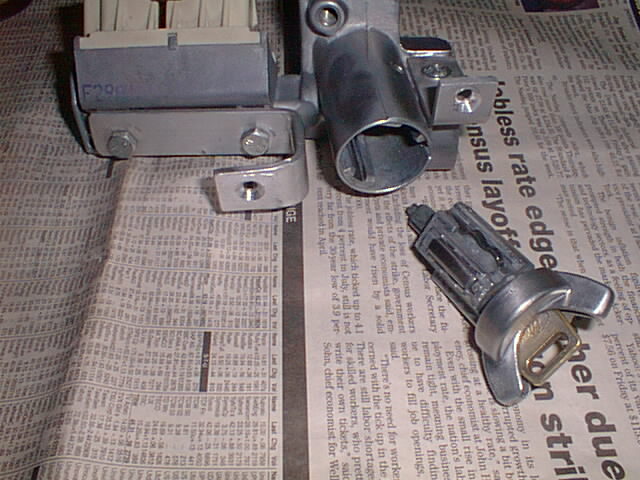
To mount it in the dash remove the cylinder
|
Brackets I made to allow the ignition switch to be dash mounted
|
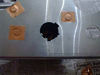
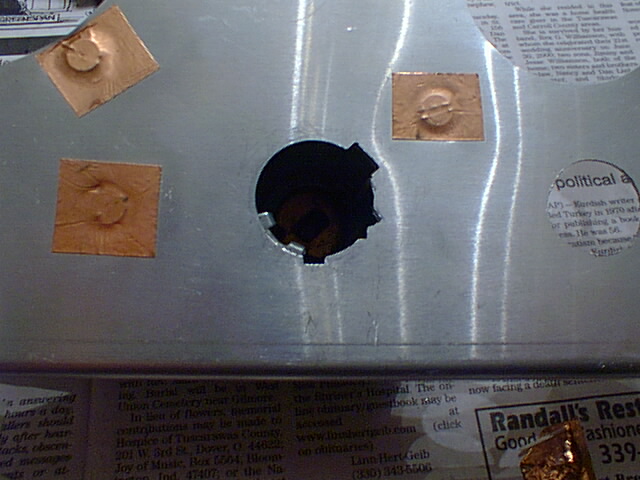
Hole in dash for
the lock cylinder. Tape covers the screw heads
|

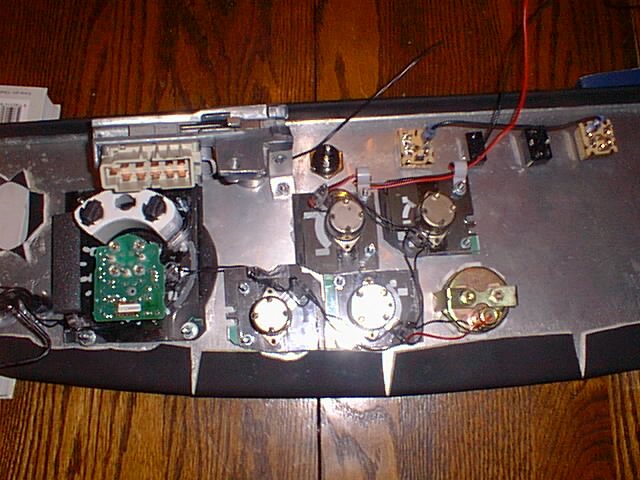
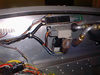
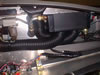
Dash from the rear
|
|
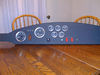
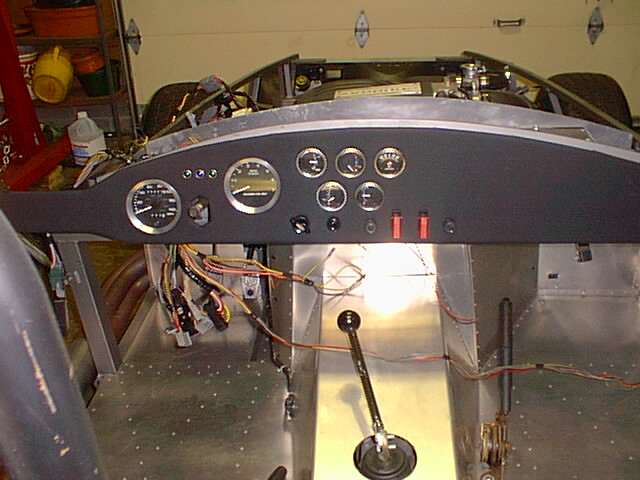
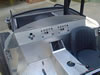
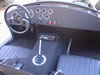
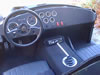
Finished dash.
|

Looks pretty good
to me.
|
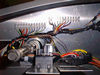
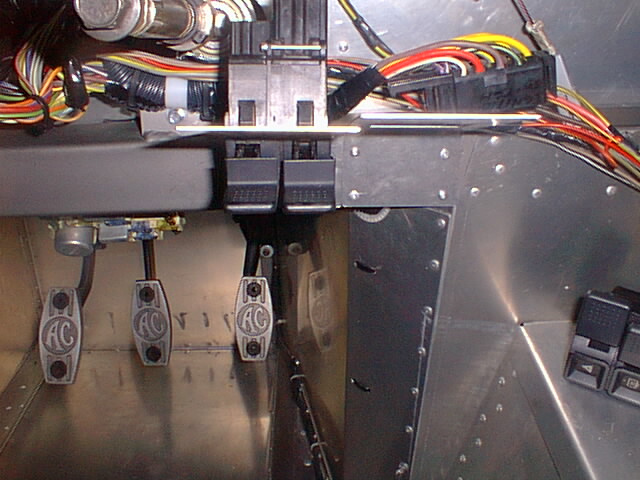
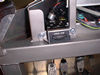
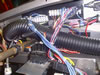
Terminal blocks replace the gauge pod.
|
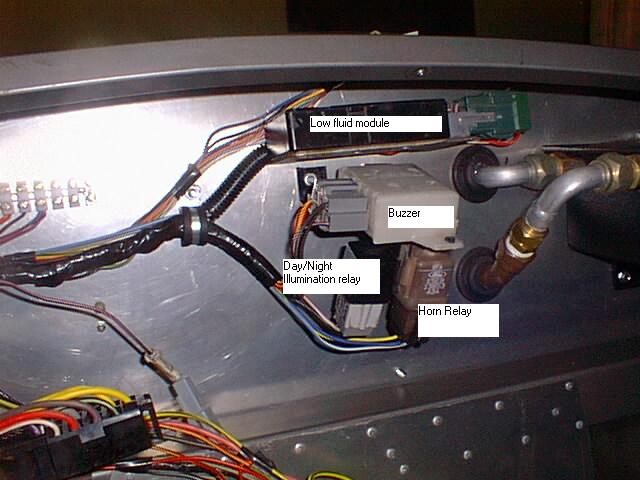
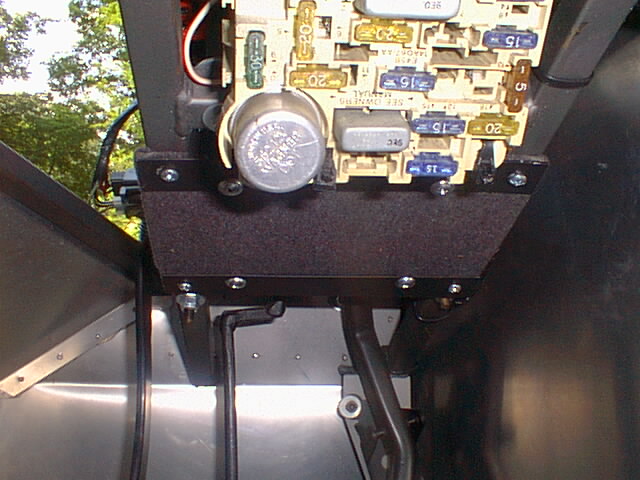
Low fluid modules, relays and buzzer
|
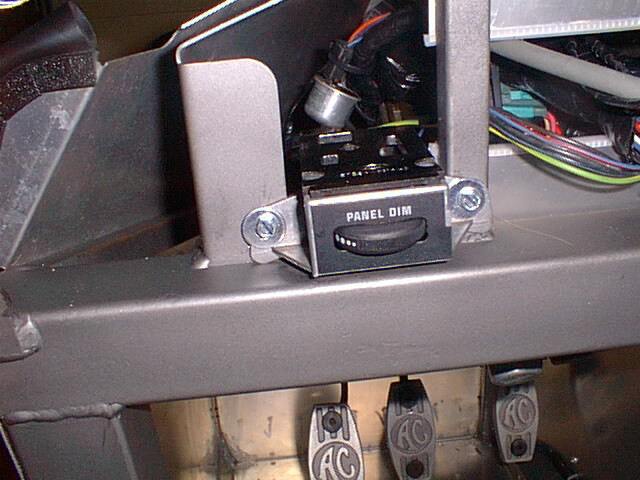
Dash light dimmer
|
|
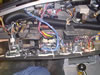
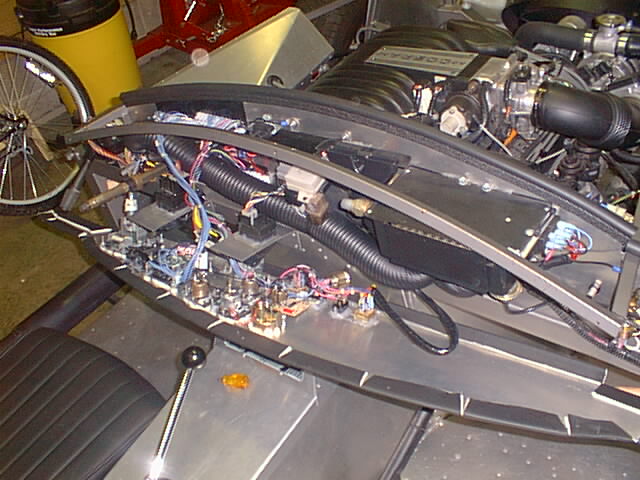
Rear view of completed dash
|

Rear view of completed dash
|
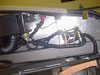
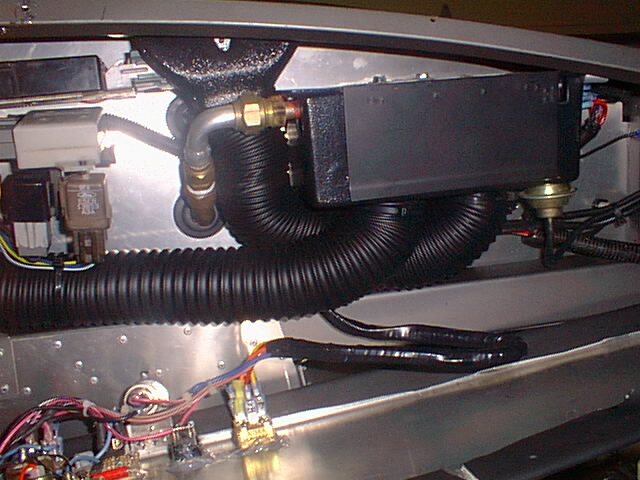
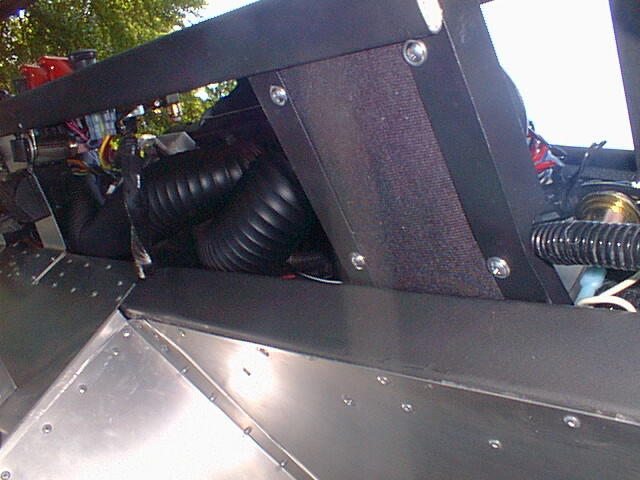
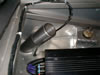
Heater solenoids & wiper relays
|
Heater ductwork
|
Terminal blocks and heater duct
|

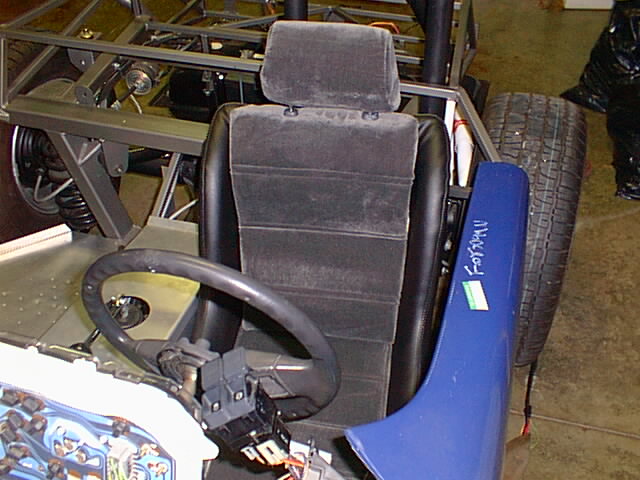
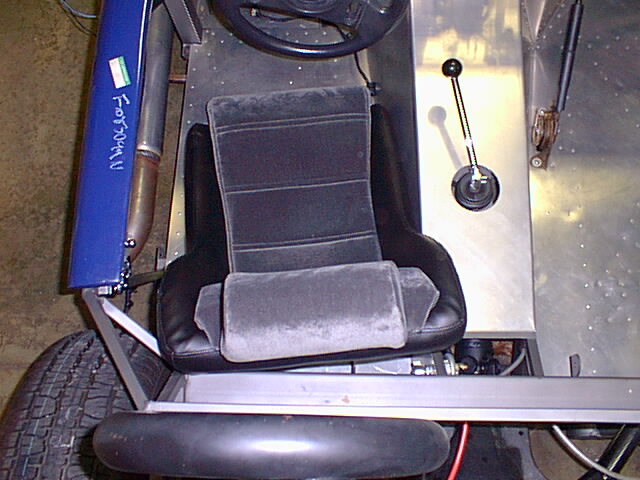
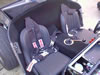
Corbeau Classic II Seat doesn't quite fit |
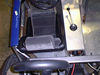
If it's straight, It hits the diagonal brace at the rear of door
frame. |

If it's crooked, it feels weird and looks strange. |
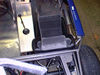
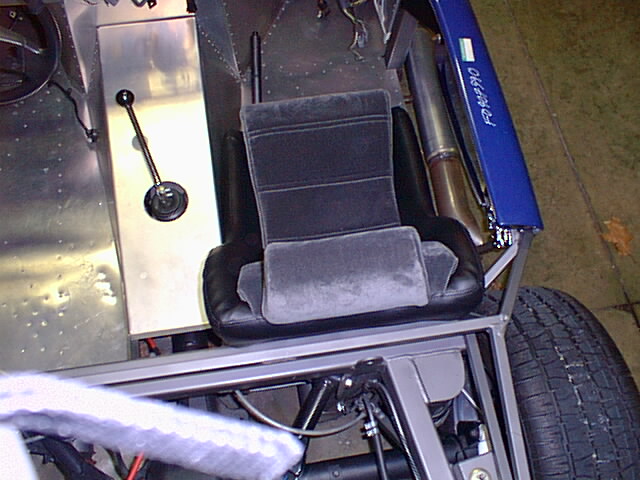
The passenger side is worse. It wont slide back far enough to
clear the parking brake |
 Passenger side hits
the brake handle. (I'll clean it up later)
Passenger side hits
the brake handle. (I'll clean it up later)
|
|
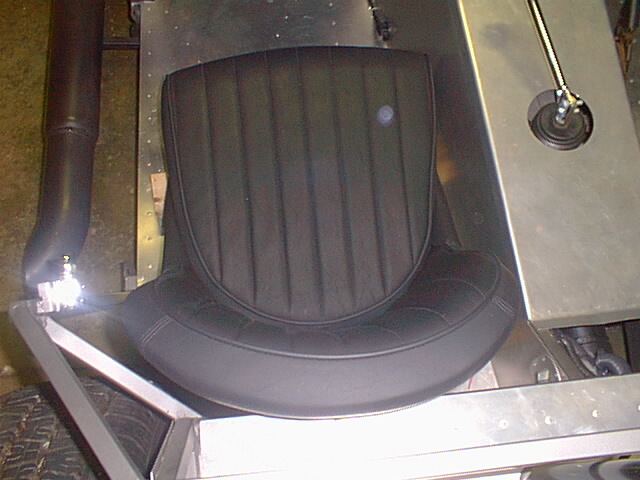
The stock FFR seat
fits MUCH better, but you loose the headrest
|
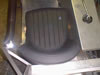
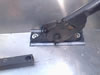
Modified brake pedal fits my feet much better..
|
Headlight switch
|
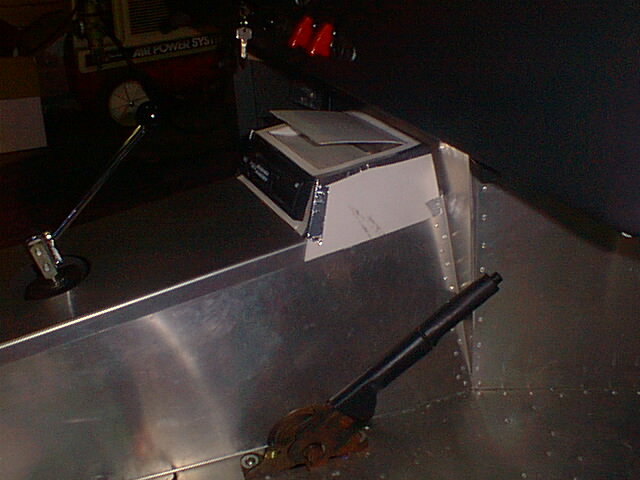
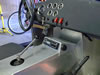
Mocked up console (final version)
|
Mocked up console with glove compartment
|
|
Rear of console
|
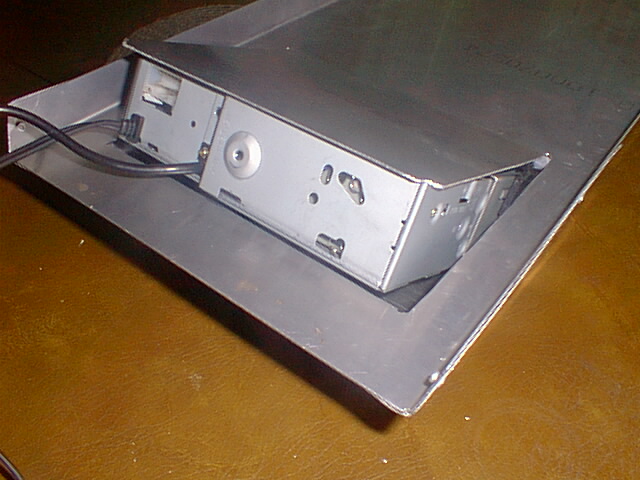
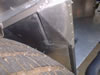
Modification to transmission tunnel cover (Lots of silicon caulk
to seal things up)
|
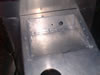
Transmission tunnel mods from the top
|
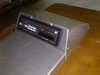
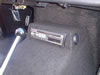
Alpine CD player that I've had for a while.
|
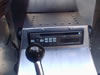
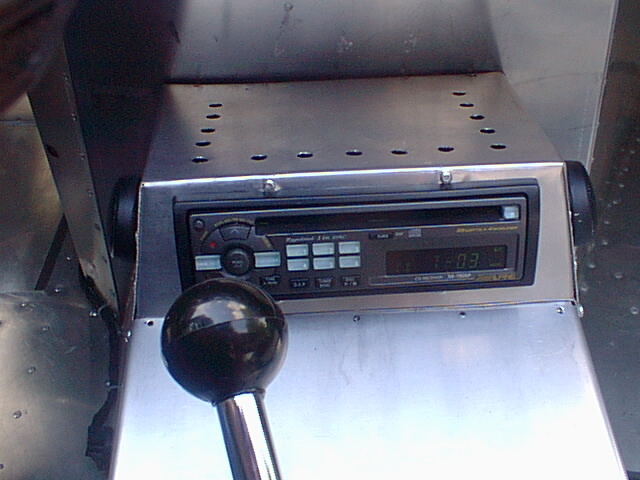
Console installed
|
|
Small tweeters on the side of the console
|
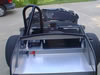
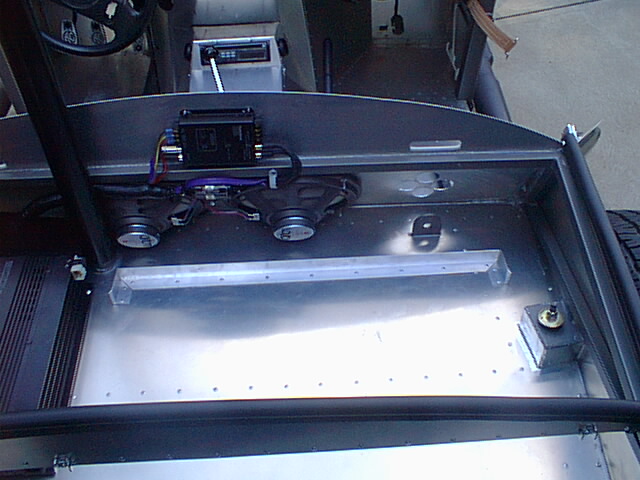
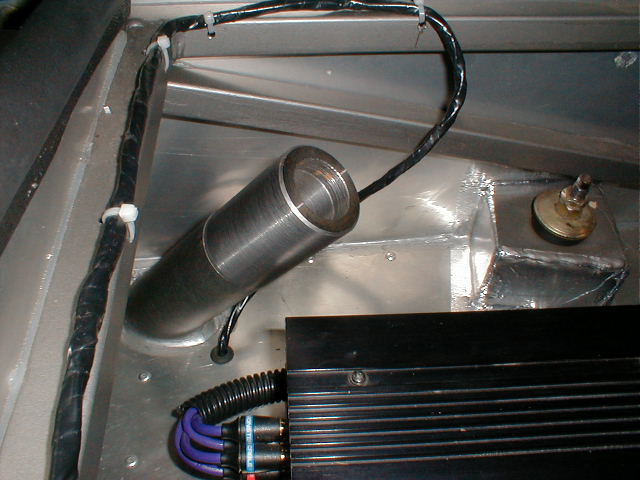
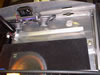
Subwoofer, Amp &
crossover in the trunk
|
Old 4 channel amp (60 watt's per channel)
|
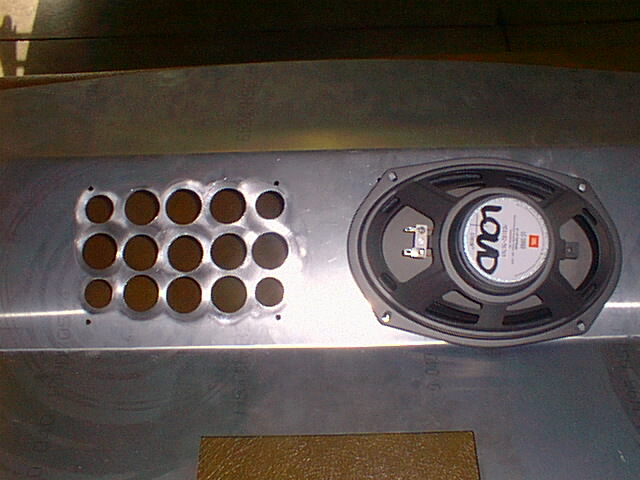
JBL 2-way speakers
|

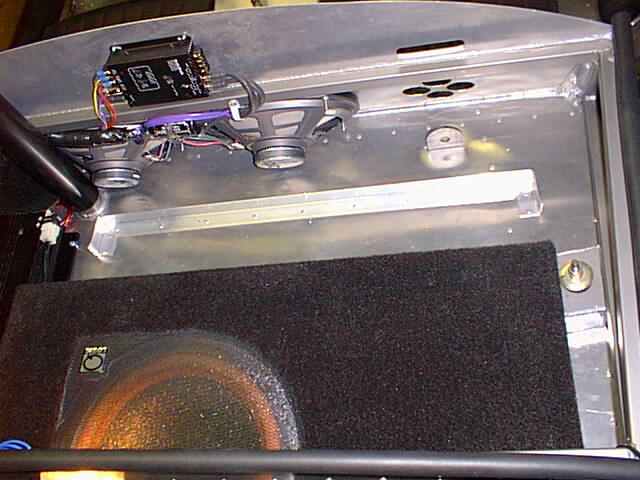
Trunk with subwoofer removed
|
|
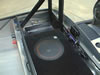
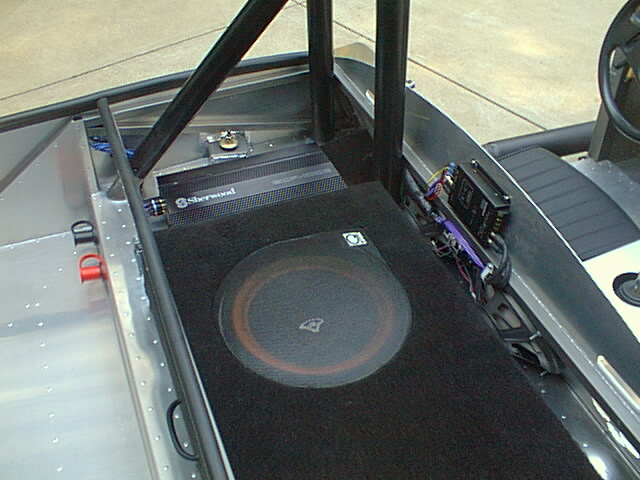
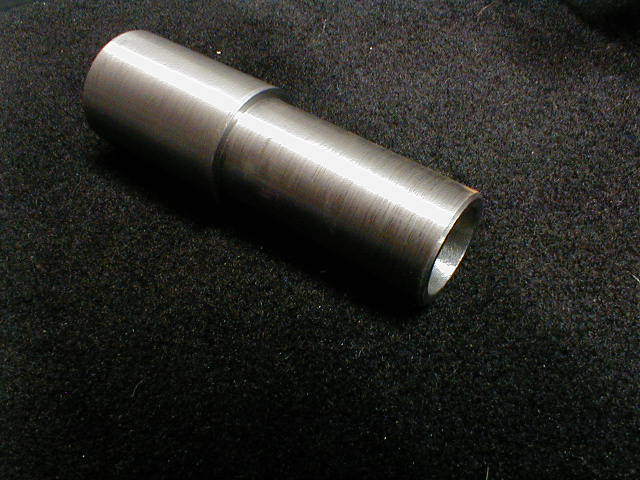
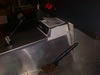
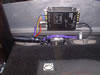
I made this subwoofer
cabinet so it can easily be removed
|
Aluminum angle holds it in place
|
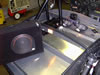
The cabinet contains a CerwinVega 10" dual voice-coil subwoofer.
|
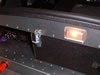
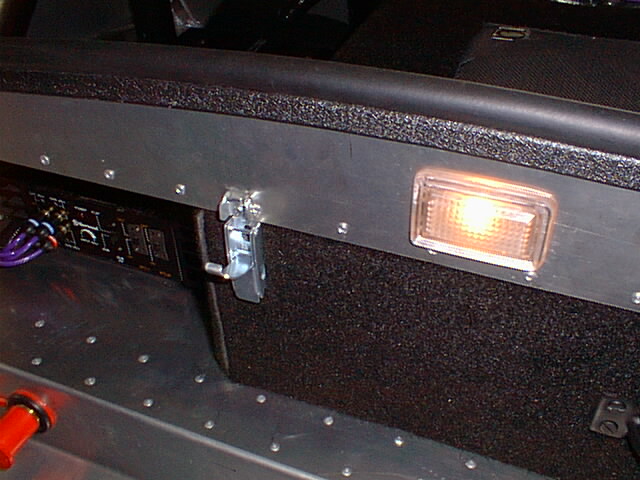
Clamps keep the speaker
from sliding out. The trunk light is from my donor Mustang
|
Crossover & isolation
transformer from our friends at Radio Shack |
|
5 1/4 inch front speaker on drivers side
|

Not a great location but it works
|
Passenger side front speaker
|
Passenger side speaker from below
|
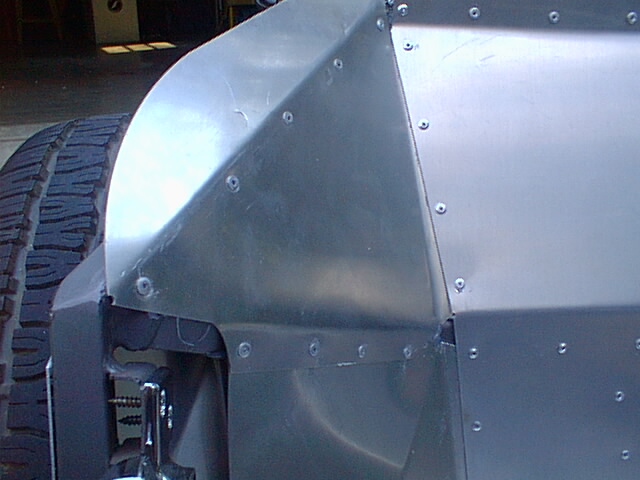
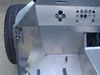
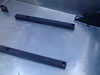
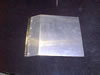
Rear
aluminum panels (The 4 holes on
the left line up with subwoofer
port. )
|
|

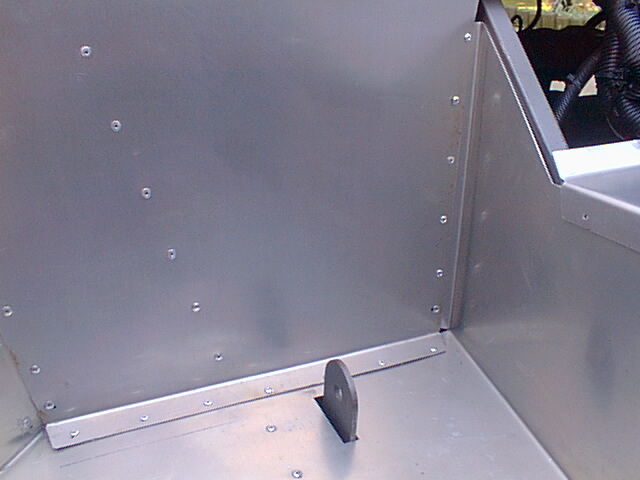
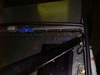
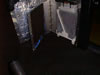
Rear
aluminum panels
|
Rear
aluminum panels
|
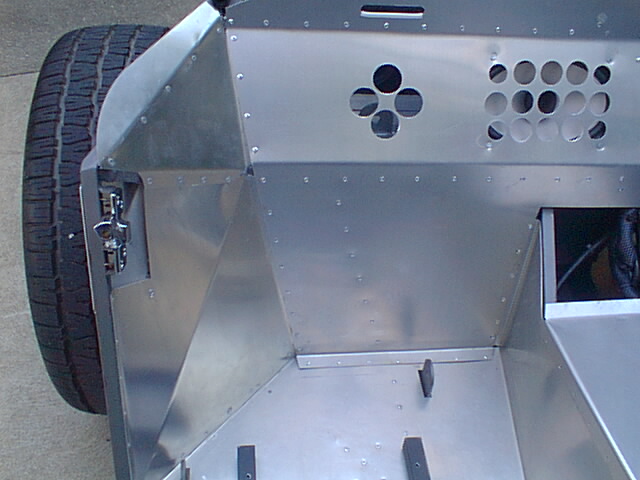
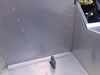
Rear aluminum panels |
Rear aluminum panels (Aluminum tape & caulk seal it up) |

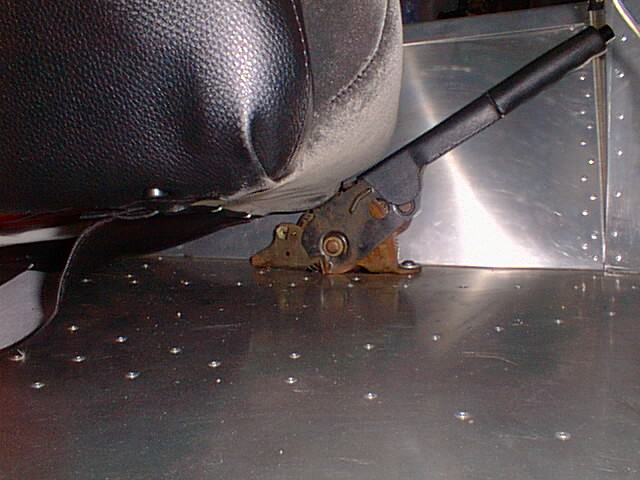
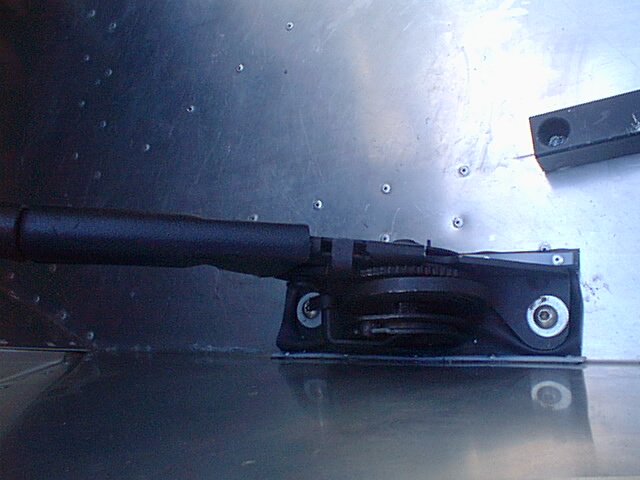
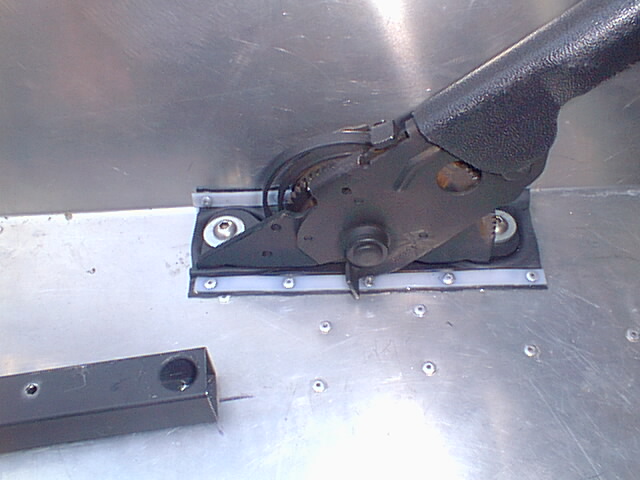
Rubber gasket made from
an inner tube installed under E-brake |
|
Modified E-brake handle. I didn't need to remove as much metal
as FFR recommends since my seat is raised.
|
 Factory Five's optional seat sliders were used on the drivers
seat.
Factory Five's optional seat sliders were used on the drivers
seat.
|
1" square tubing was used to raise the passenger seat to
the same level as the drivers seat.
|
I
used Aluminum tape to seal some of the bigger gaps
|
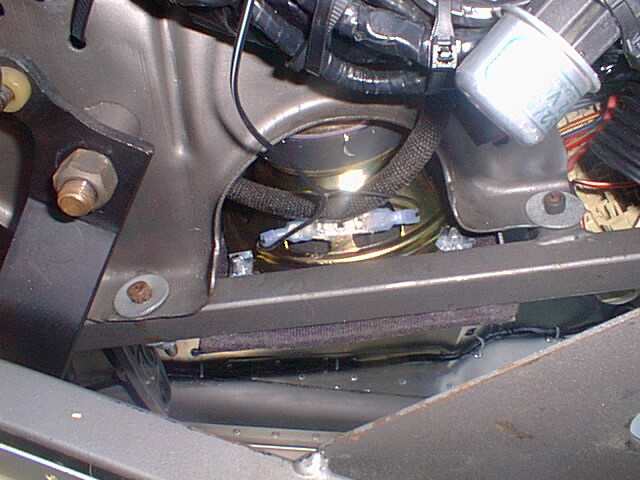
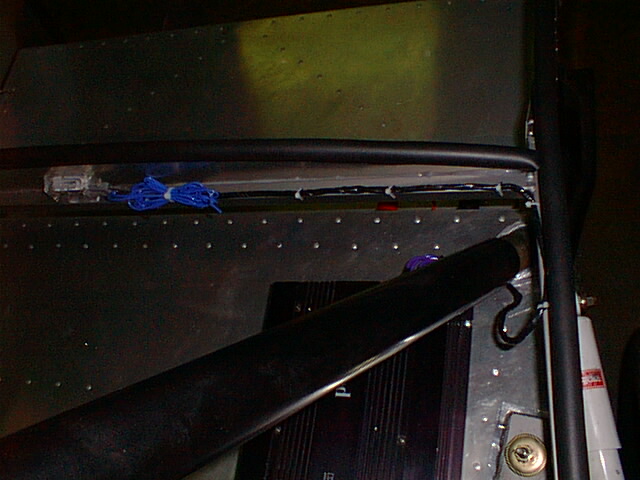
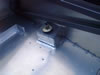
Trunk light and license plate light wire routing.
|
|
Trunk
light from my donor Mustang.
|
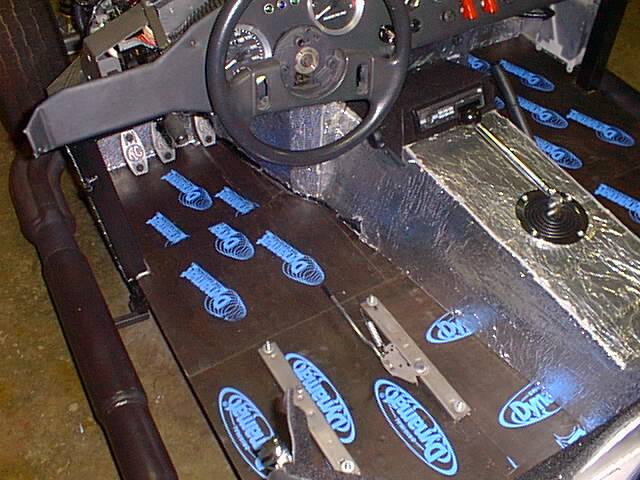
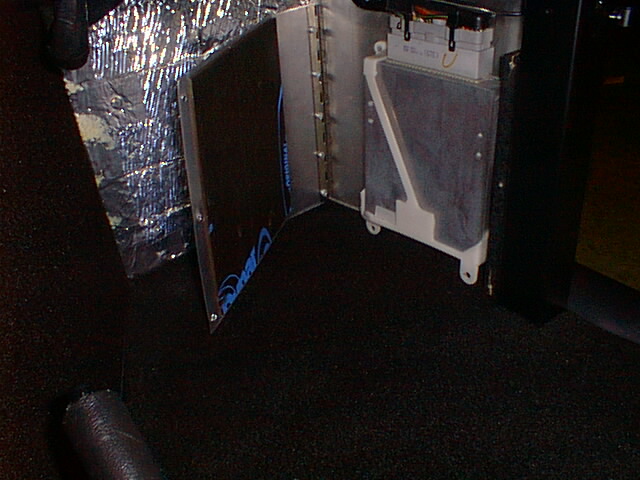
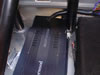
I used waterproof Dynamat insulation on the floor. Aluminum
foil over foam duct insulation was used on the vertical surfaces
|
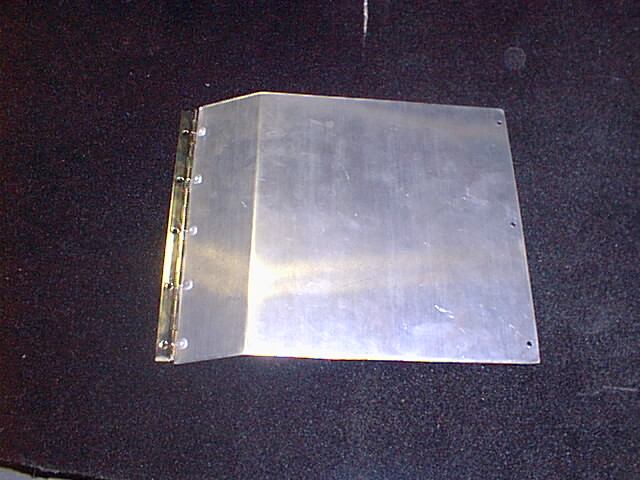
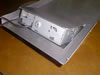
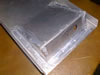
I made a hinged cover for the computer.
|
Computer
cover
|
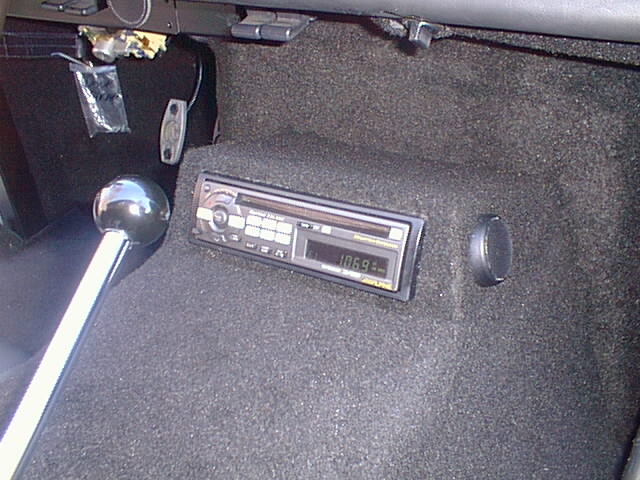
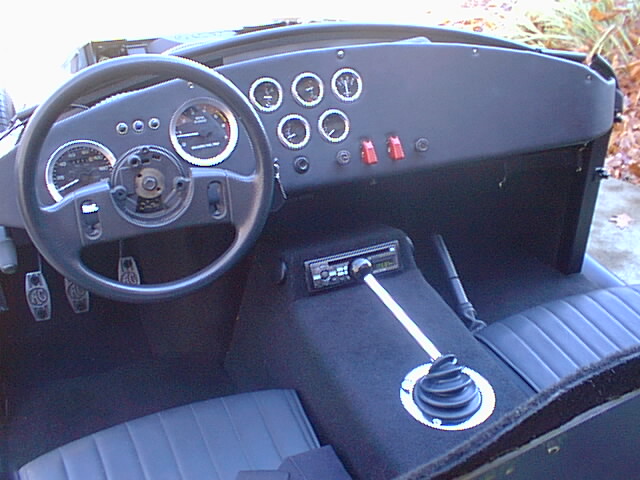
I'm
real happy with the way the radio console turned out
|
|
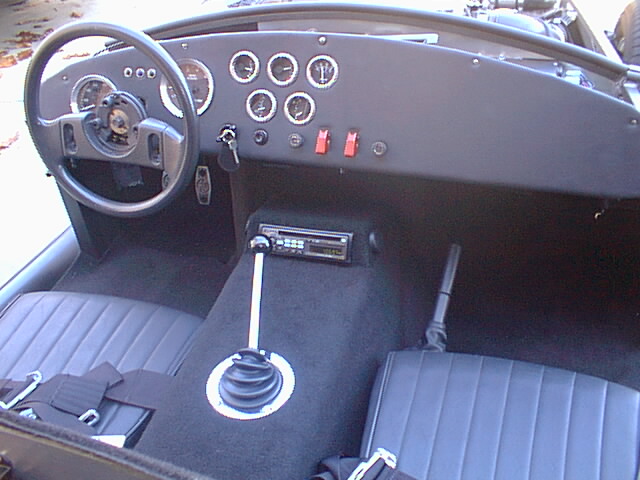
Finished interior
|
|
The
Mustang steering wheel will be replaced with a MotoLita wood
wheel after the body is installed
|
|
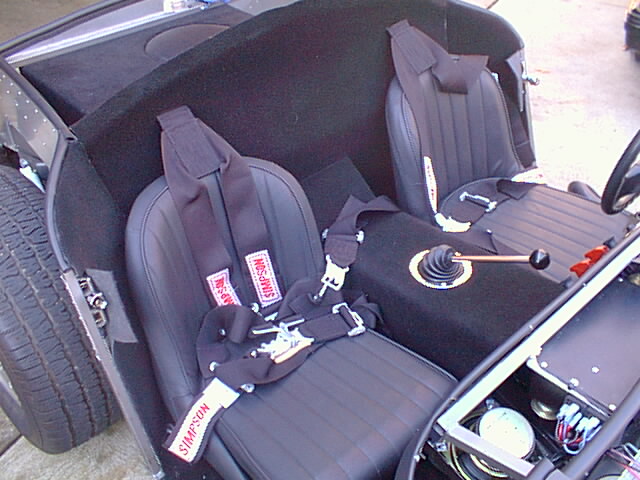
Completed
seats with Simpson belts
|
|

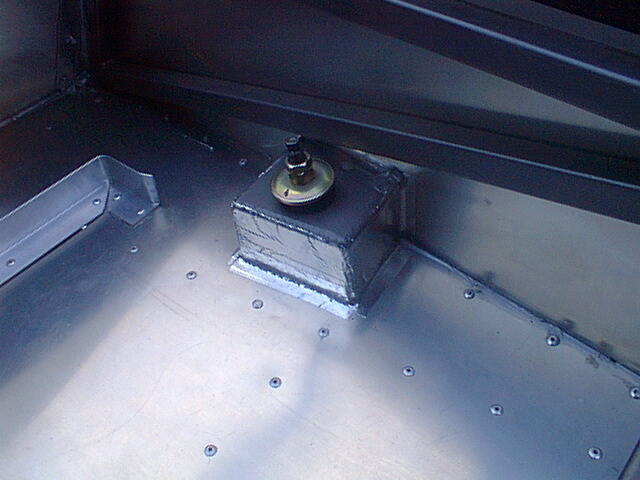
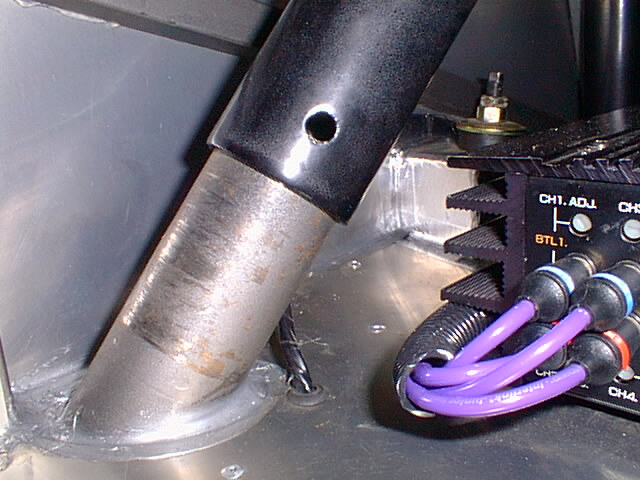
Something
else to fix. The support for the rear leg of the rollbar doesn't
extend far enough into the leg for the bolt to go through it.
|

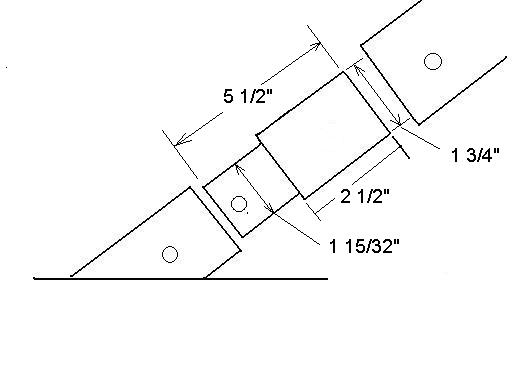
Rollbar fix
|
Many
thanks go to Darrell Martin (BigDee on the CobraForum) for turning
my drawing into steel
|
It works great
|
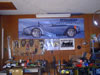
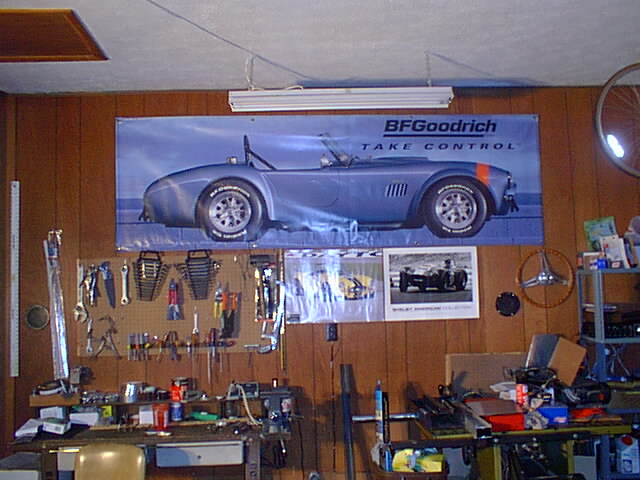
New additions to the garage.
|