Image Page Menu


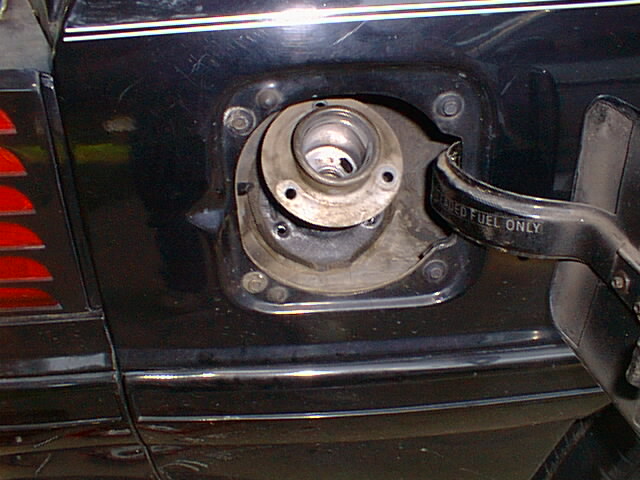
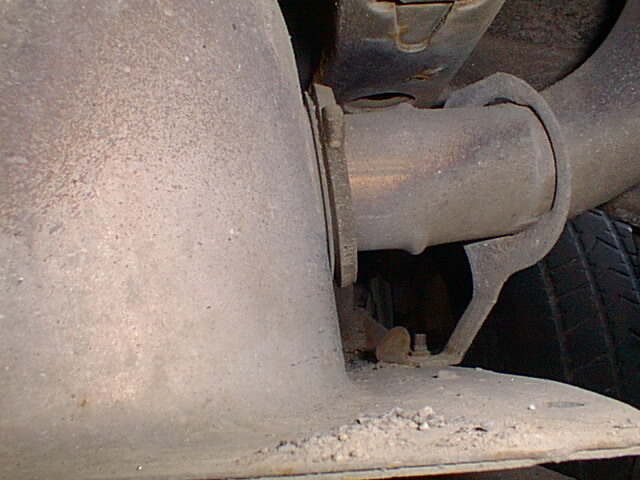
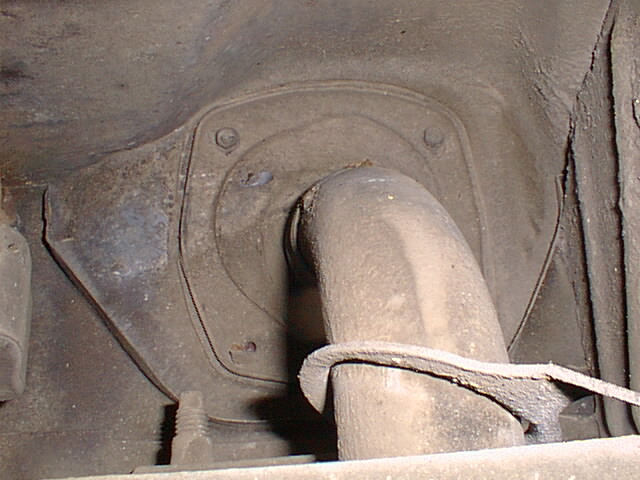
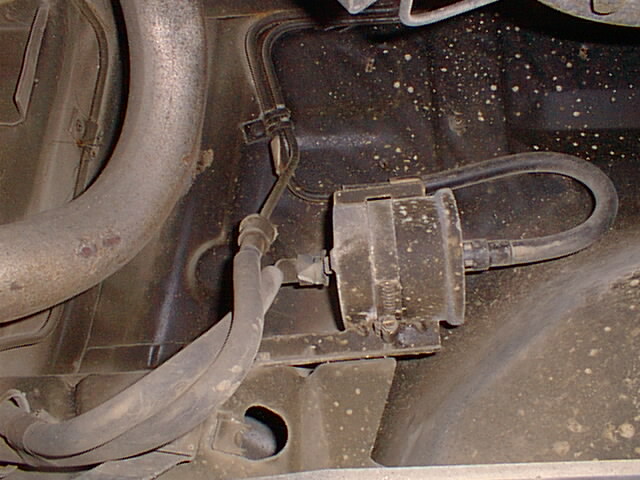
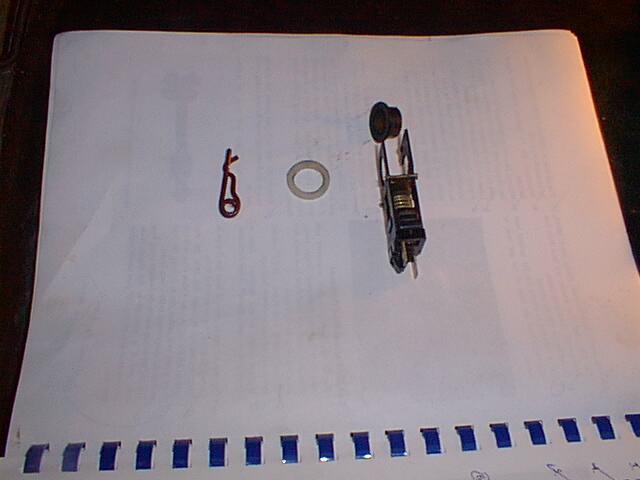
Donor Teardown 2
Click on the image to view a more detailed picture
.

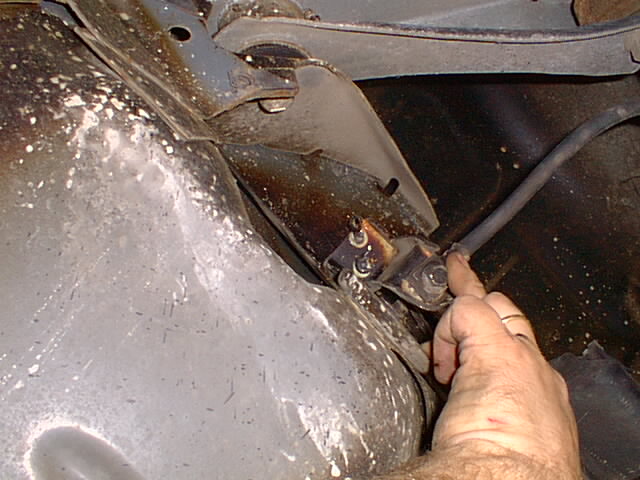
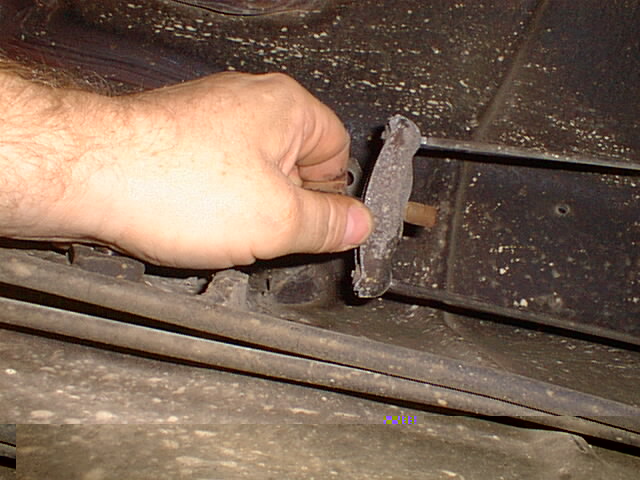
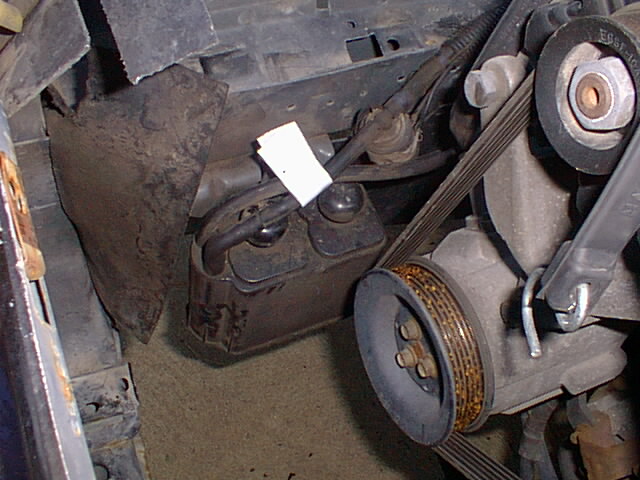
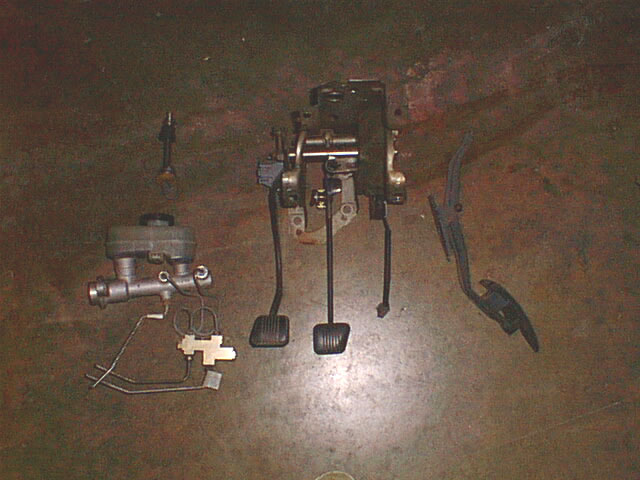
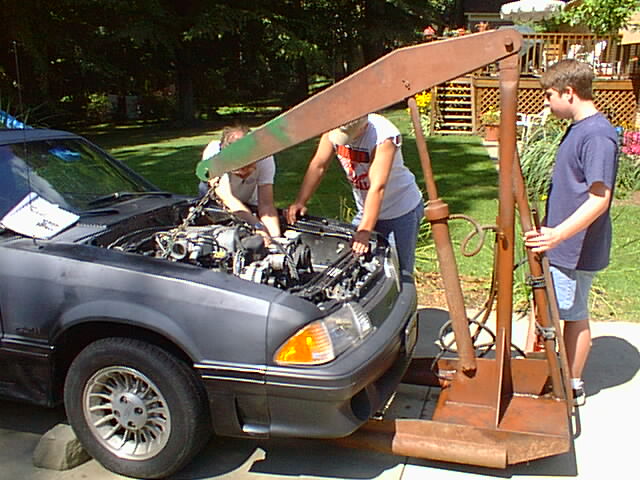
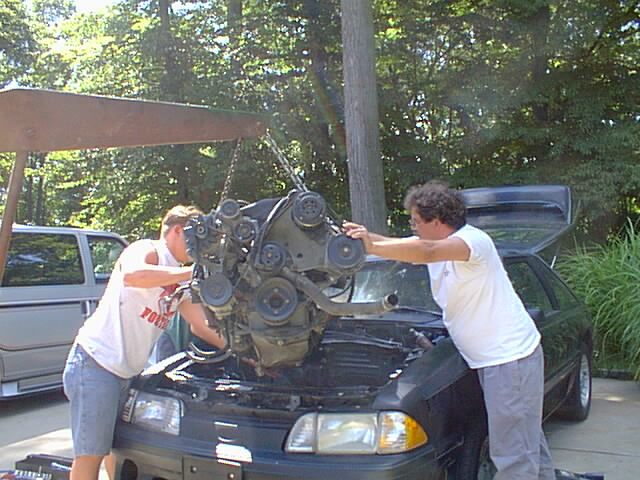
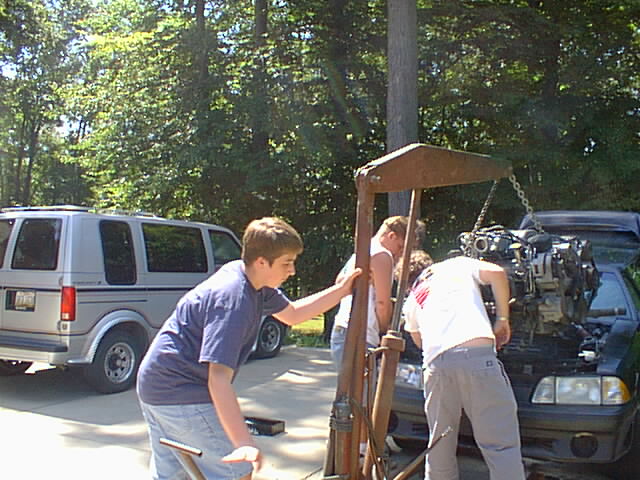
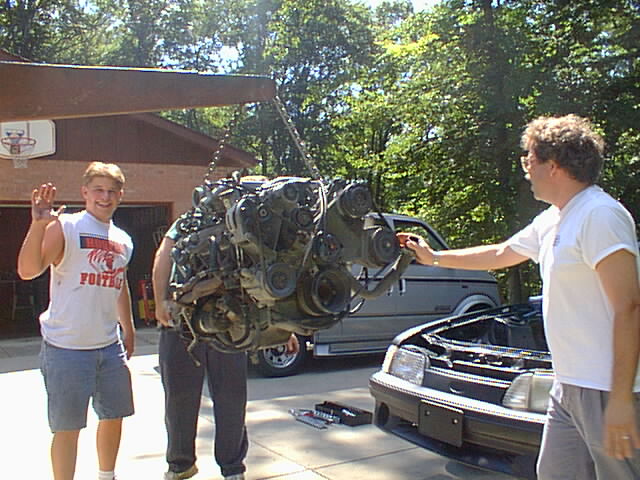
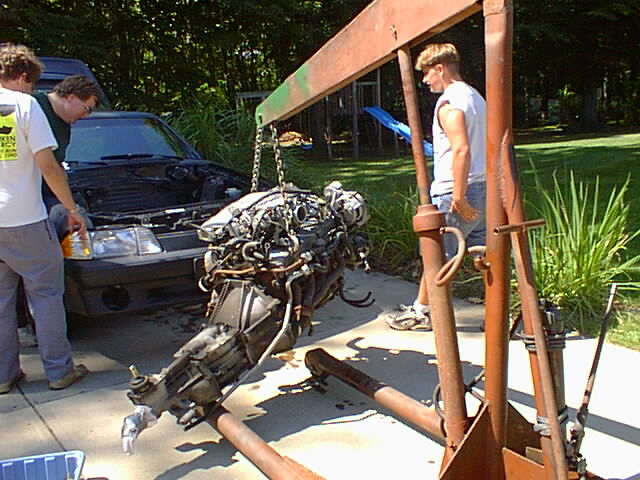
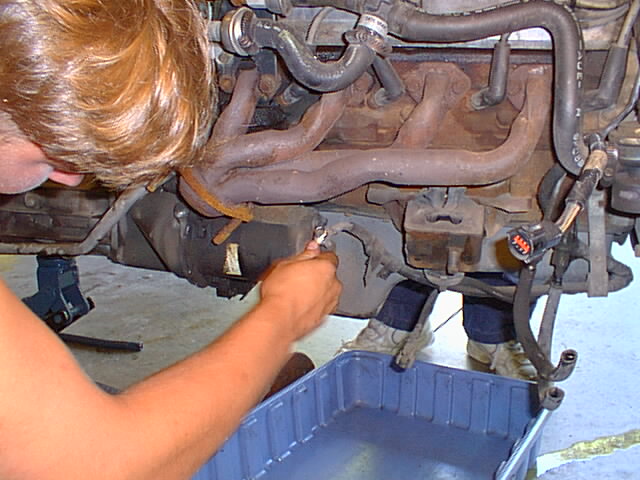
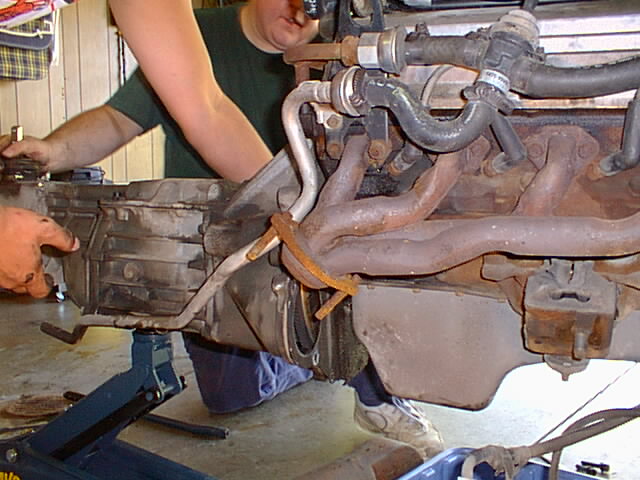
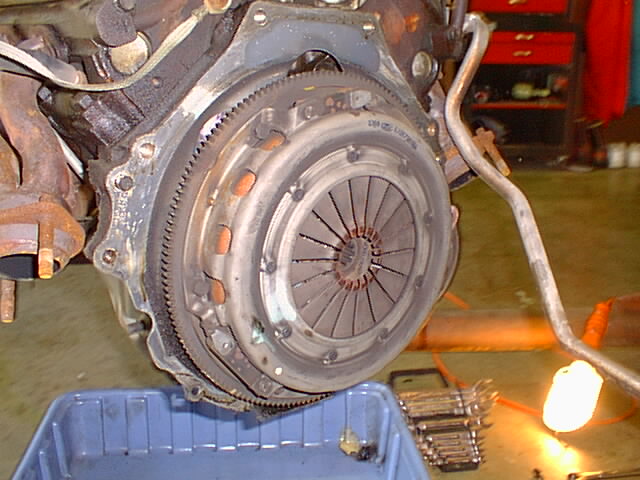
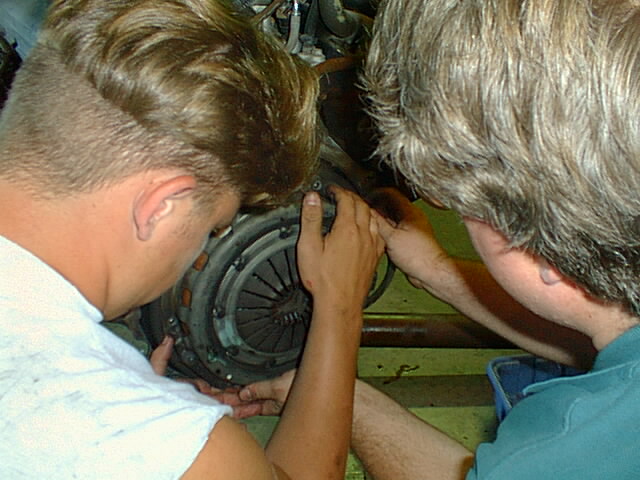
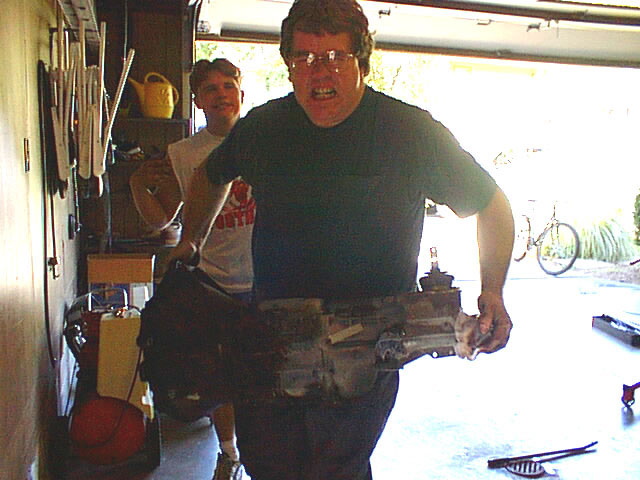
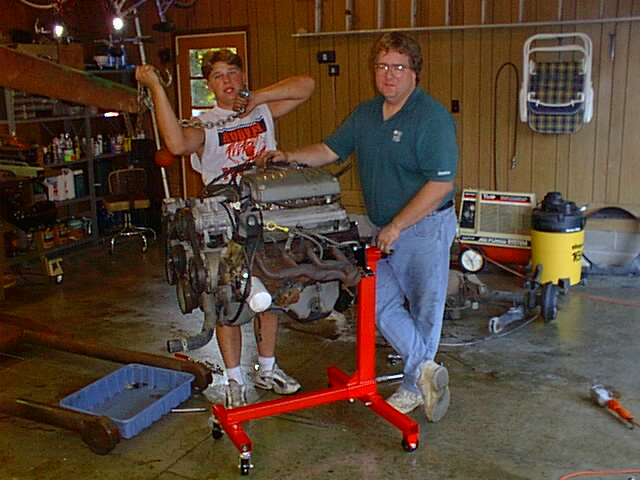
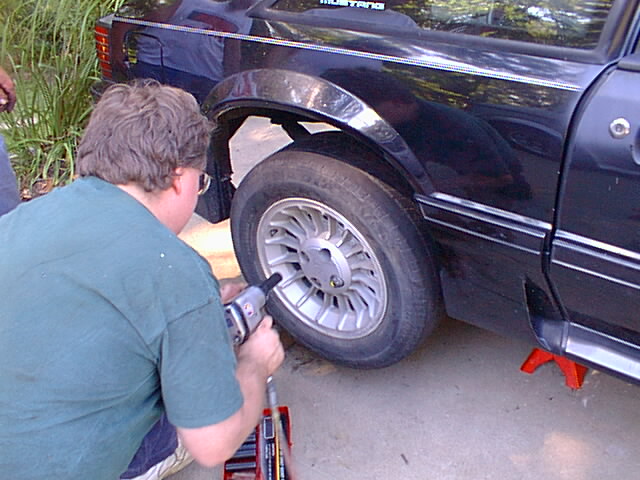
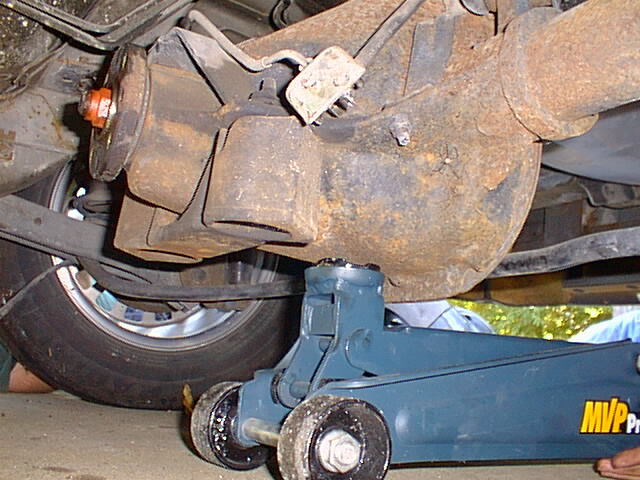
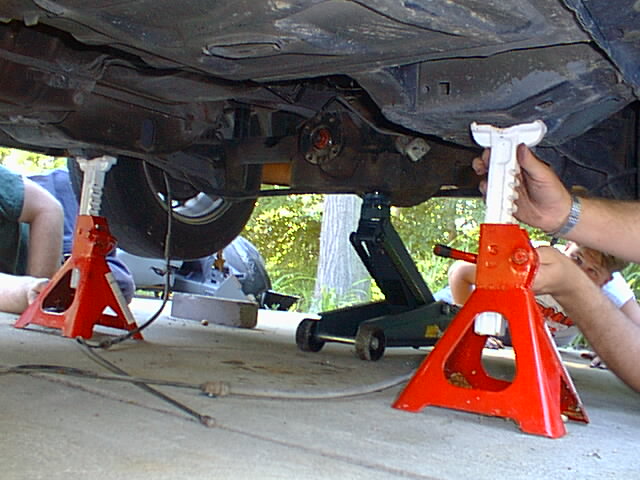
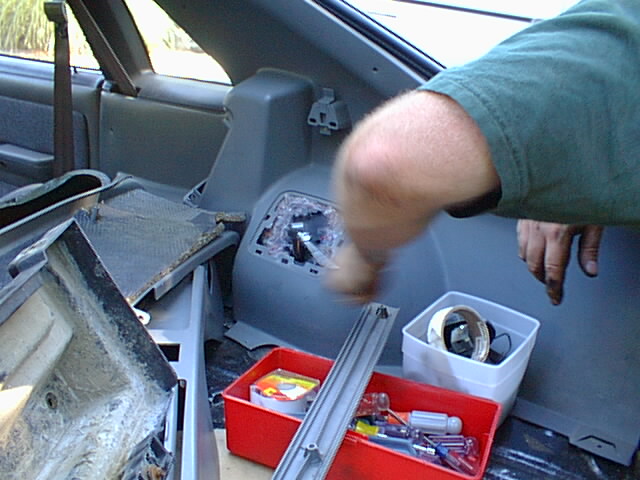
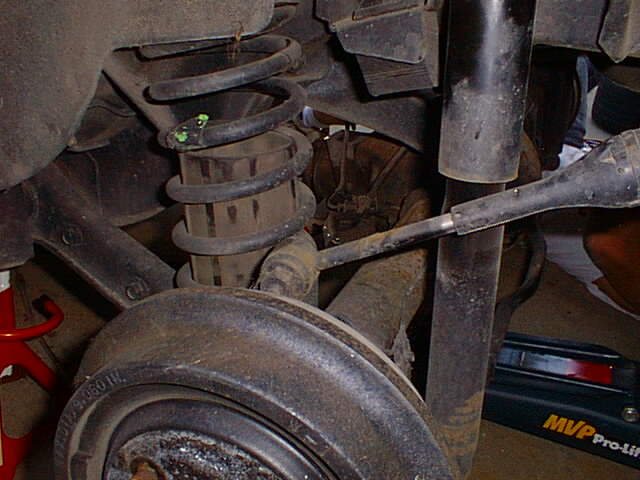
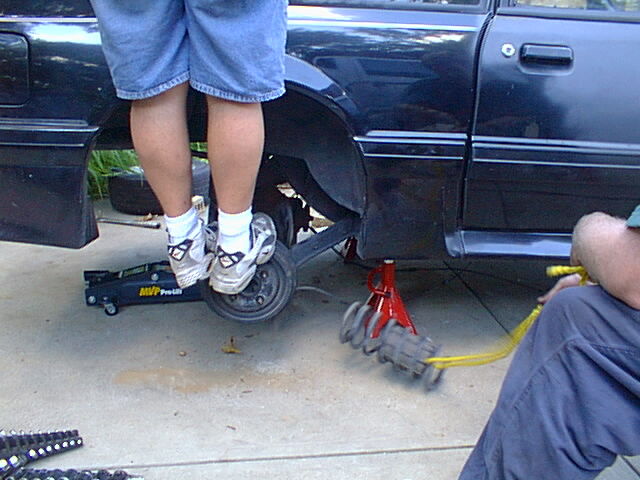
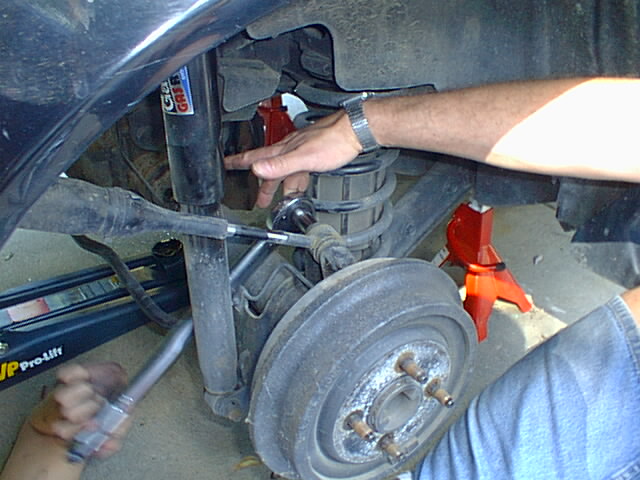
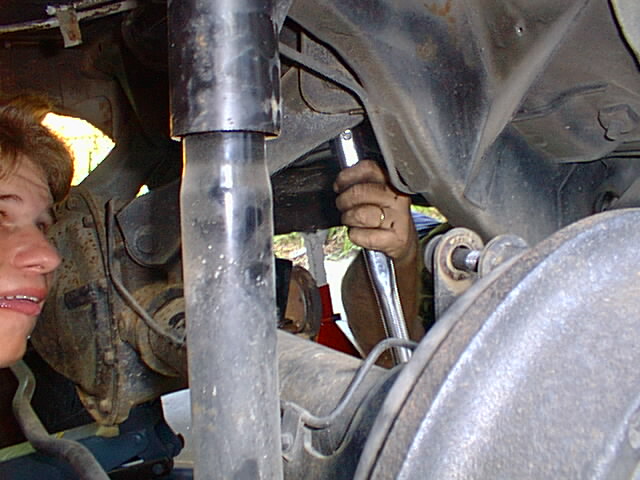
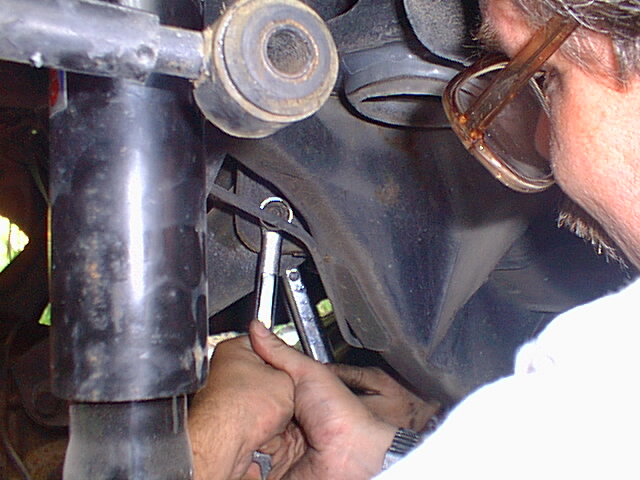
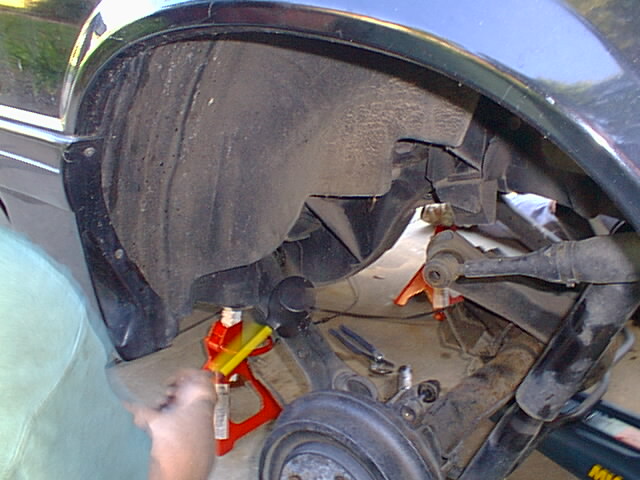
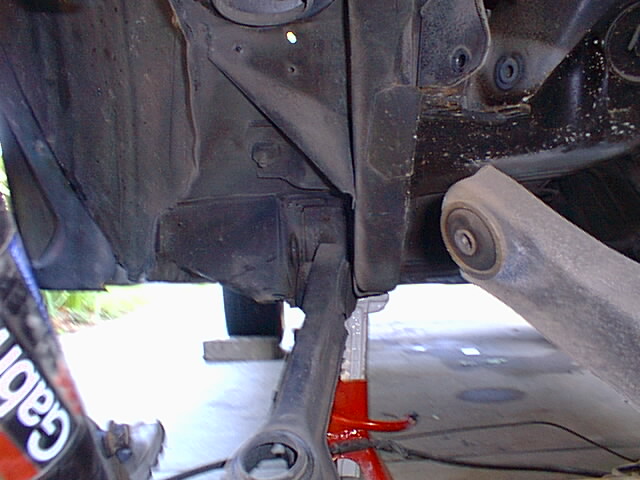
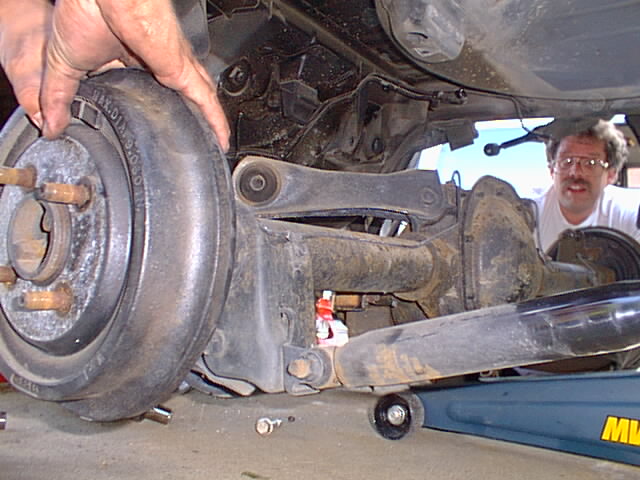
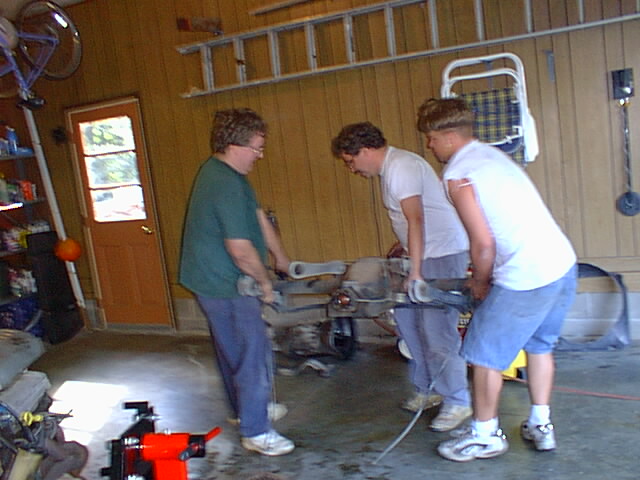
Donor Teardown (Engine, fuel tank &suspension)

fueldoor.jpg (2532 bytes)
Remove these
screws.
fuel2.jpg (2091 bytes)
The filler neck
slides out.
fuel3.jpg (2274 bytes)
Underside of
fuel filler door.
filter.jpg (2440 bytes)
Fuel filter
bracket1.jpg (2538 bytes)
Drill rivets out
of rear brake
hose bracket.
e_brk1.jpg (2480 bytes)
Loosen E-brake and remove cables here.
e_cable2.jpg (2460 bytes)
Use a socket to squeeze brake cable here.
thcable.jpg (2609 bytes)
Remove the
clip over the
throttle cable.
thcable2.jpg (1808 bytes)
The clip on
intake side of
throttle cable.
bwasher.jpg (2063 bytes)
Brake pedal shaft washer placement
fuel _can.jpg (2765 bytes)
Fuel evaporation
canister.
keepers2.jpg (2114 bytes)
More
keepers
pedals1.jpg (1713 bytes)
Pedals &
master
cylinder

vac_can1.jpg (2049 bytes)
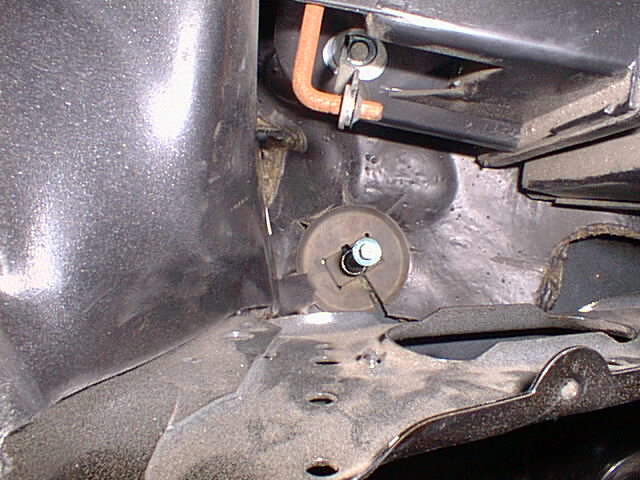
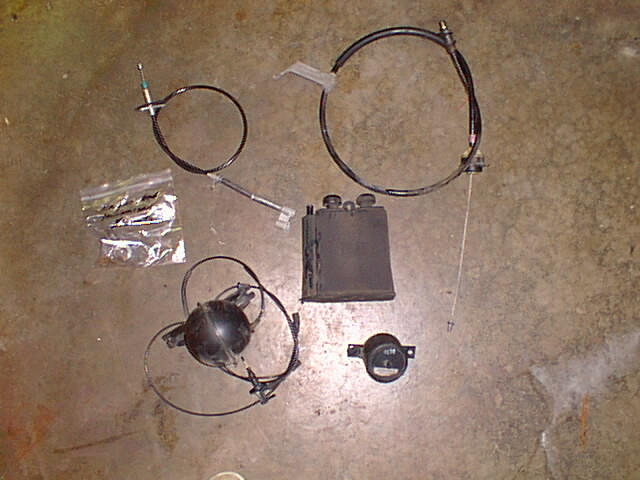
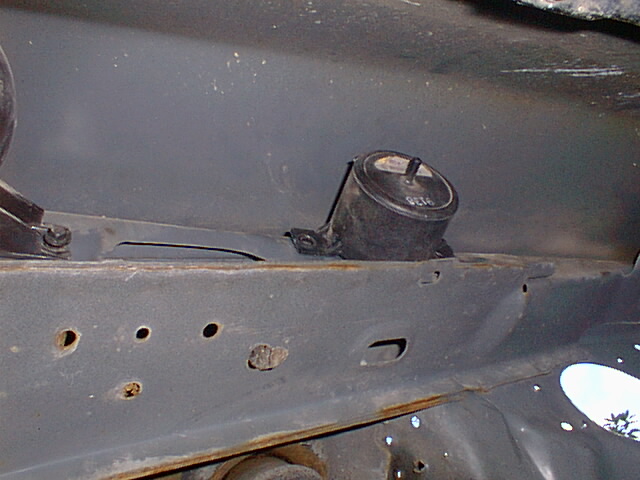
Vacuum canister
(Keep this one)


vac_can2.jpg (2523 bytes)
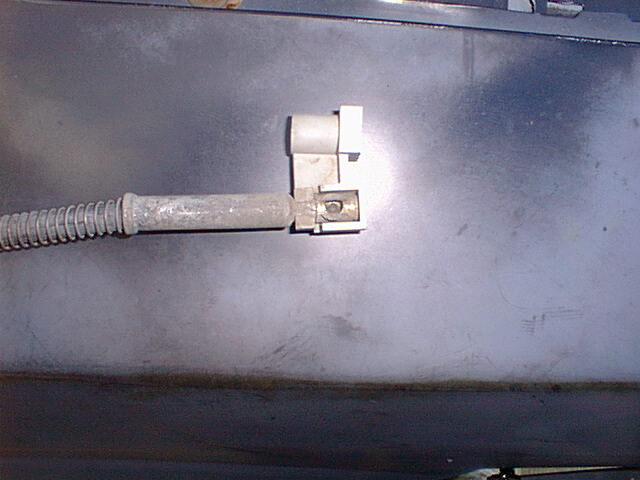
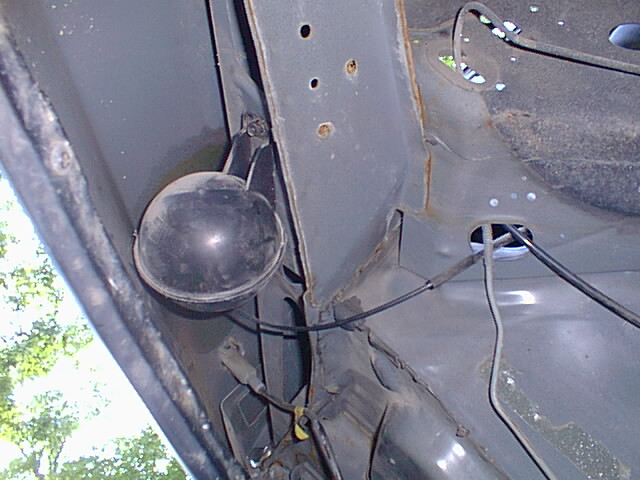
Another vacuum
canister
(You don't need this one)

vac1.jpg (2819 bytes)
Vacuum hose
distribution
block.
engout1.jpg (3340 bytes)
I think it moved.
engout3.jpg (2882 bytes)
Shawn & Mike guiding it out.
engout4.jpg (3057 bytes)
Webboy cranking it up.
engout5.jpg (3186 bytes)
Hi Shawn!
engout7.jpg (3396 bytes)
It's out!

engiine8.jpg (3074 bytes)
Big hole where the engine was.
starter2.jpg (2981 bytes)
Shawn removing the starter.
airtube.jpg (3231 bytes)
Removing the airtube
transoff.jpg (3129 bytes)
Removing the bellhousing & transmission.
clutch2.jpg (3011 bytes)
It all goes through this?
clutch4.jpg (2719 bytes)
Removing the clutch.
clutch5.jpg (3112 bytes)
Marking the clutch position.
clutch6.jpg (2729 bytes)
John being one with the clutch.
jbtrans.jpg (2782 bytes)
Be scared, very scared.
shawnjb.jpg (2775 bytes)
We finally got it on the stand.
engine12.jpg (2490 bytes)
302 Ready for cleanup.
1wheel.jpg (2804 bytes)
Removing the rearend. Start with wheels.
2jack.jpg (3022 bytes)
Jack it up.
3jackstd.jpg (2930 bytes)
Set up the Jack stands
4shock2.jpg (3048 bytes)
Remove the nuts on the upper shock mount.
5shock1.jpg (2638 bytes)
Hold the shock (It will twist)
6shock4.jpg (2918 bytes)
Shocks
7shock3.jpg (2591 bytes)
Shocks & spring
8spring1.jpg (2806 bytes)
This is how we removed the springs.
9rear1.jpg (2632 bytes)
Side view
11quad1.jpg (2836 bytes)
Remove the lower quad shock mounts.
12ucontrol.jpg (2853 bytes)
Remove the control arm mounts  from the chassis.
13control.jpg (2752 bytes)
Mike removes the upper control arm.
14bfh1.jpg (2796 bytes)
I had to use a BFH to persuade the lower control arm.
15arms.jpg (2695 bytes)
View of control arms.
16rear.jpg (2860 bytes)
Lower the rear end with the jack.
18rear.jpg (2904 bytes)
It's pretty heavy. (maybe 225lbs)

Go to Menu