|
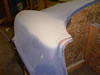
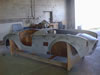
I forgot to install the trunk arch aluminum so I raised the
body to install it.
|

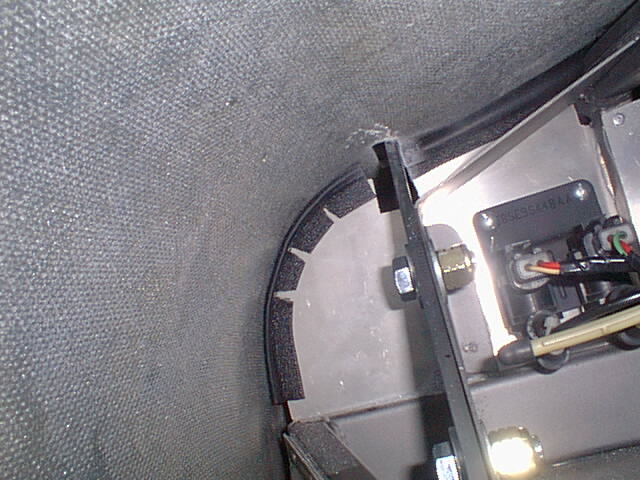
Trunk arch Russ
Thompson makes a nice kit to replace it with a hoop It gives
you a more useable room in the trunk.
|
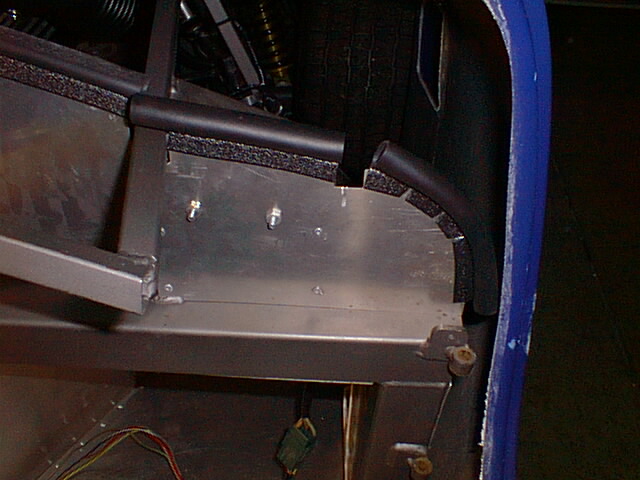
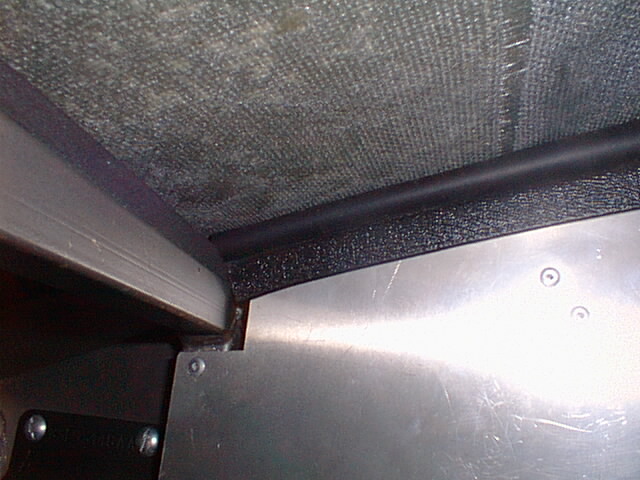
Bulb gasket on firewallI
|
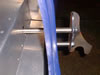
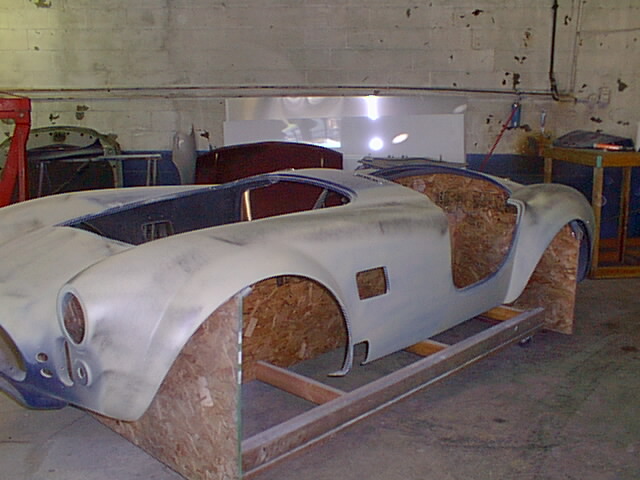
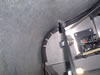
The rear quick jacks are also used to hold the body in place
|

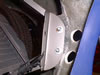
You need to drop the gas tank to mount the rear quick jacks. |
|
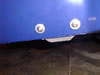
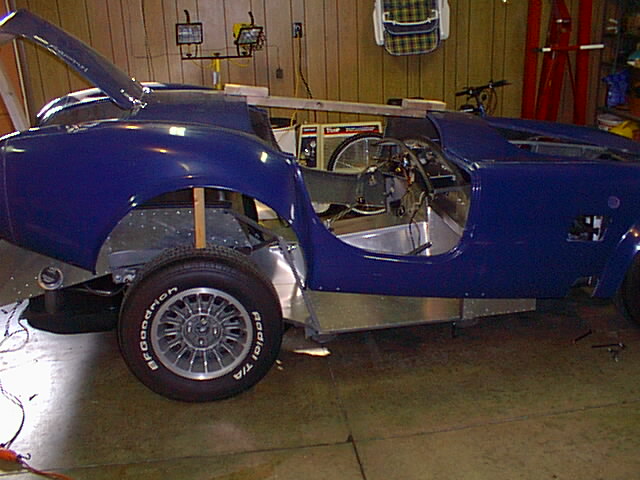
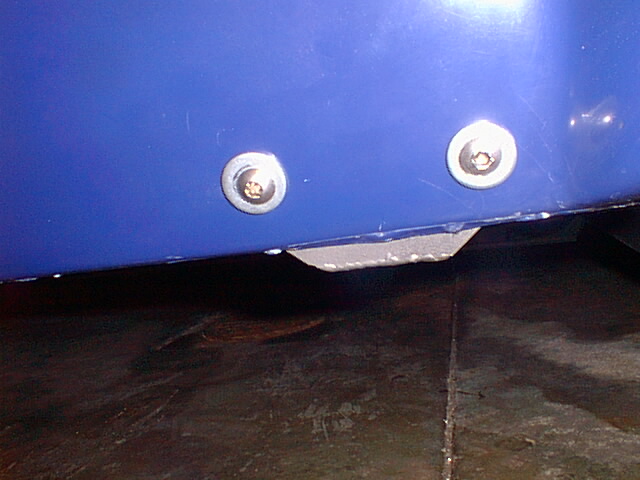
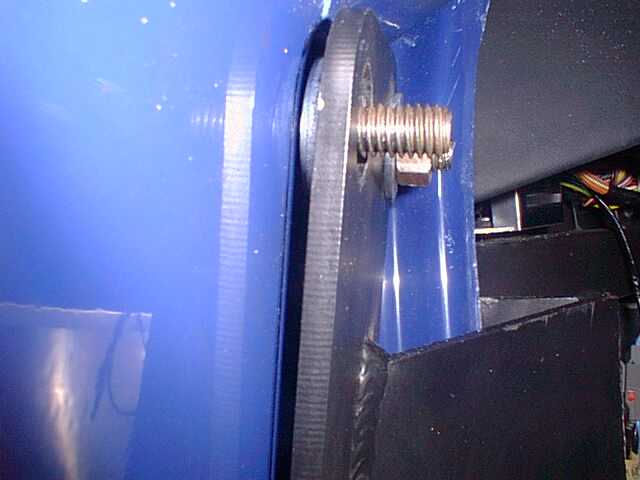
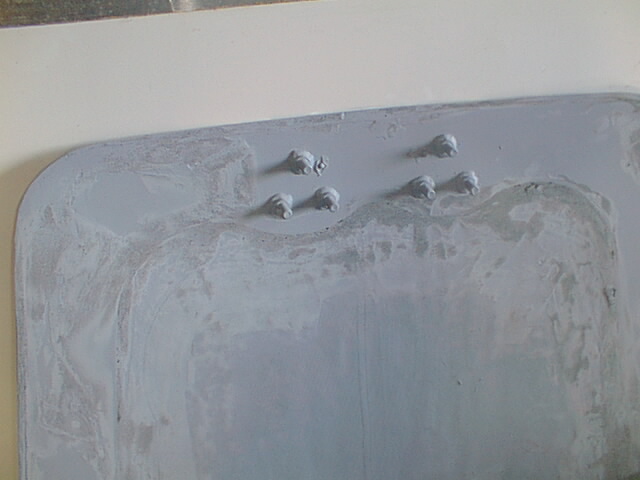
Side body mounting screws
|
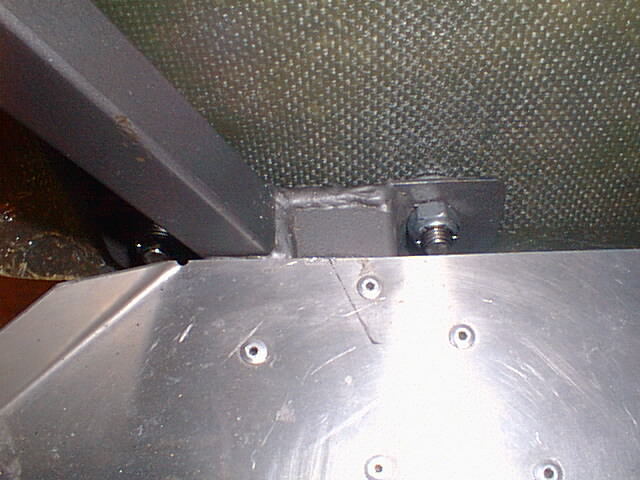
Side body mounts from the interior
|
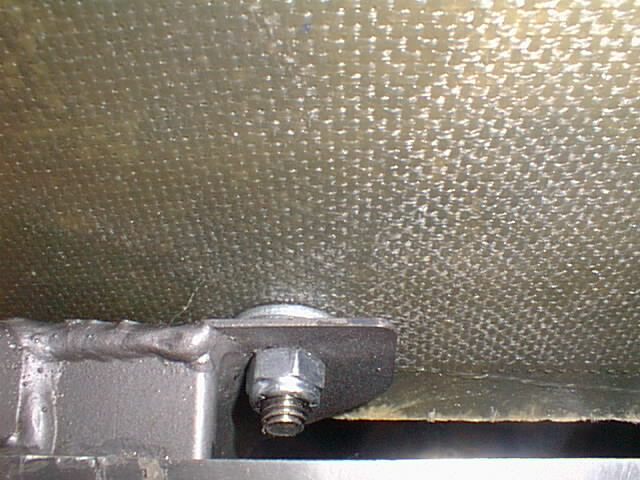
Washers can be used on the side body mounts to adjust the door
fit
|
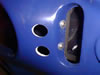
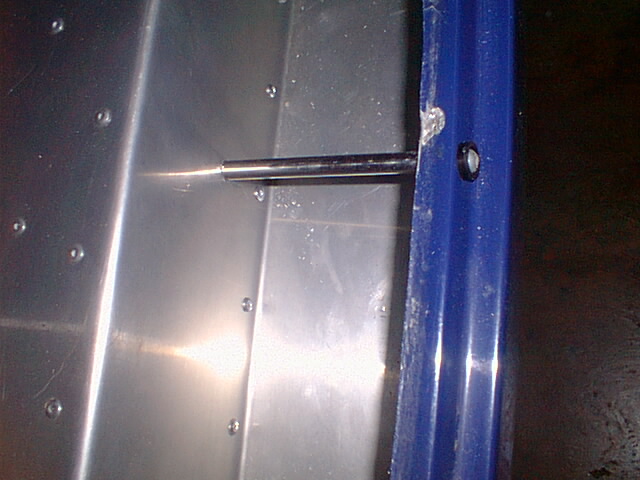
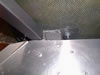
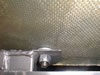
Front body mounting screws
|
Front body mount screws
|
|
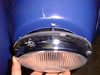
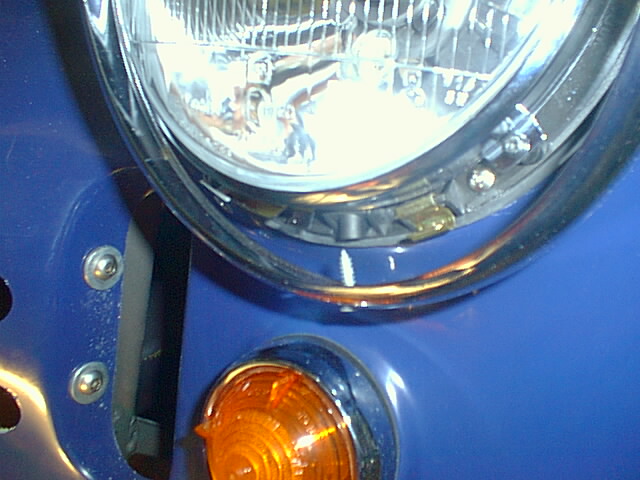
Mounting the headlights
|

|
|
The Windshield isn't centered using the factory cut holes Arghhhh!!!!
|

|
|

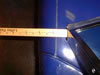
The ruler shows the position of the windshield mounts under
the body.
|
|
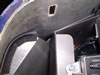
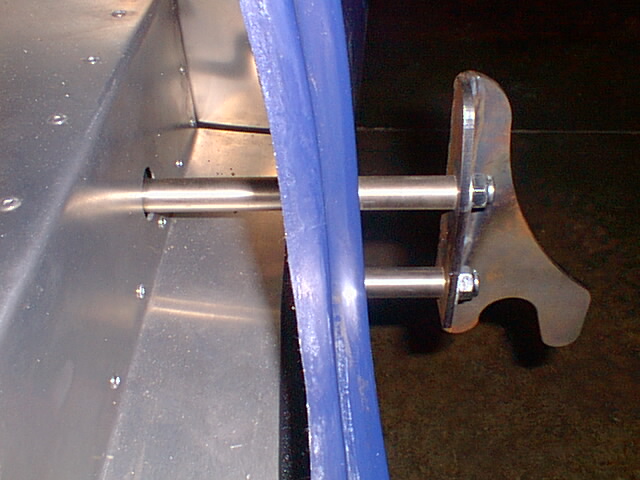
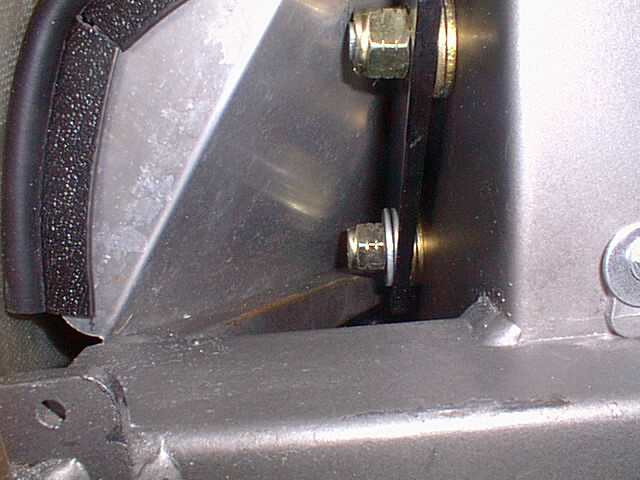
Drivers side windshield mount from below
|
Drivers side windshield post mounting location (I used washers
to move it towards the outside of the car)
|
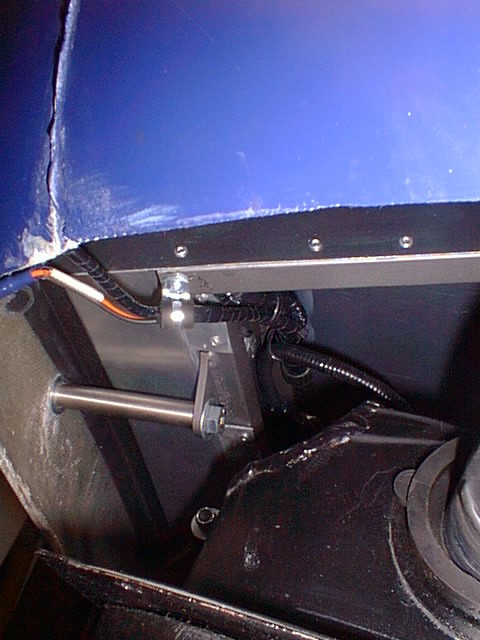
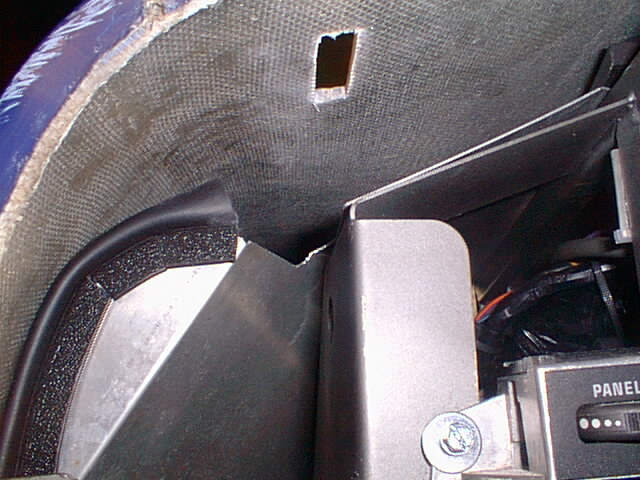
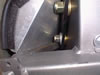
Passenger windshield mount from the engine compartment
|
|
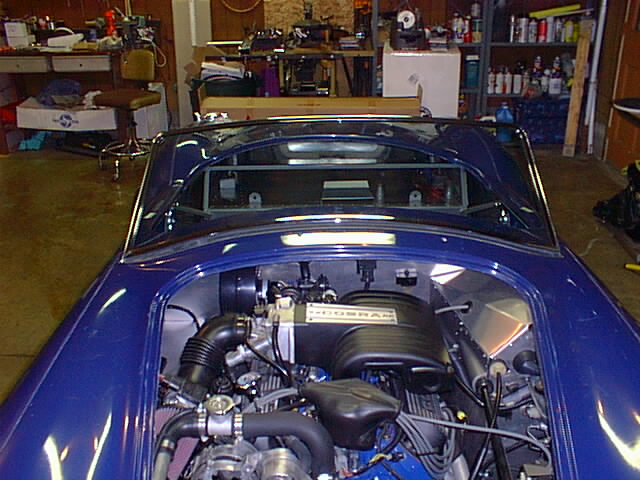
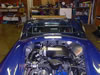
Firewall / body from engine compartment
|
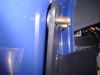
No gap on drivers side
|
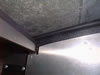
Gap under the passenger side of windshield
|
Before
|
After
I
"adjusted" the bottom rail of the windshield frame.
(It worked but I would not recommend it)
|
|
Dash hoop
|
"Adjusting" the dash hoop |
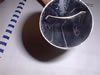
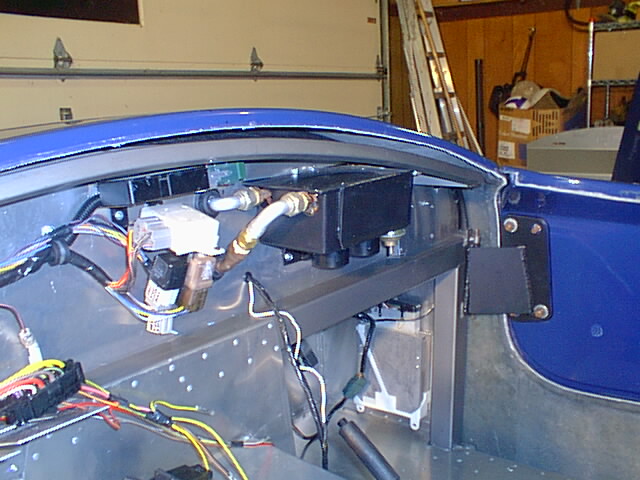
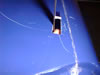
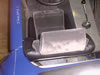
Divider in the fuel filler. It vibrates and buzzes |
I
put a rivet in it to keep things from making noise & sparks
(Keep the wise ass remarks about my workmanship to yourself
 ) )
|

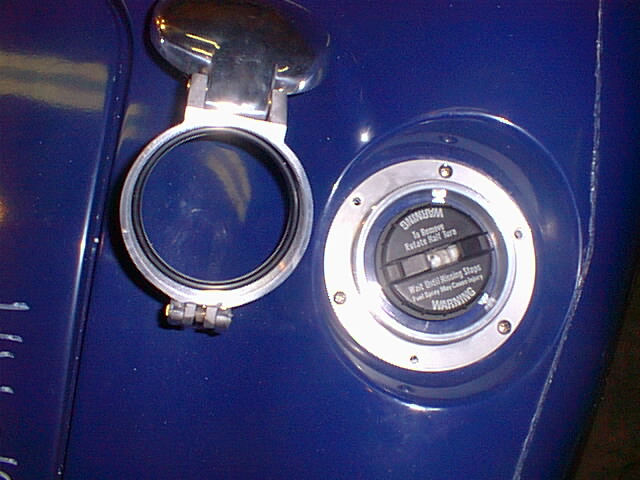
The fuel filler
lid screws on to the base. Mark the screw holes for the base with
the lid in position. |
|
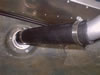
The Mustang
fuel filler is cut in half & extended with this hose
|
Trunk latch
|
Do whatever
it takes to get the doors to fit
|
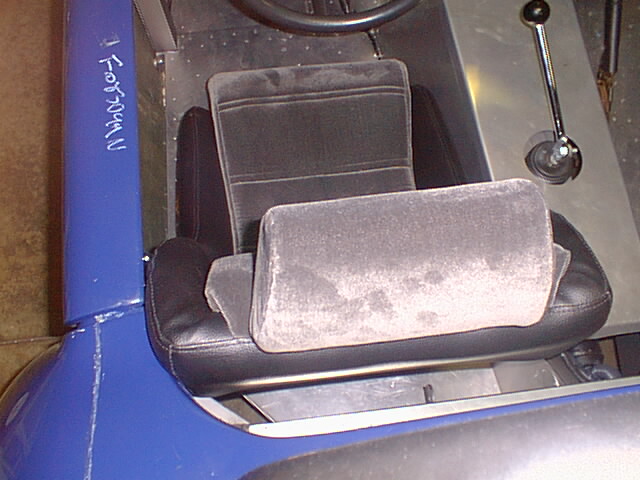
This
is why I'm going with the stock seats
|
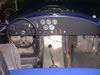
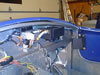
Dash temporarily
installed
|
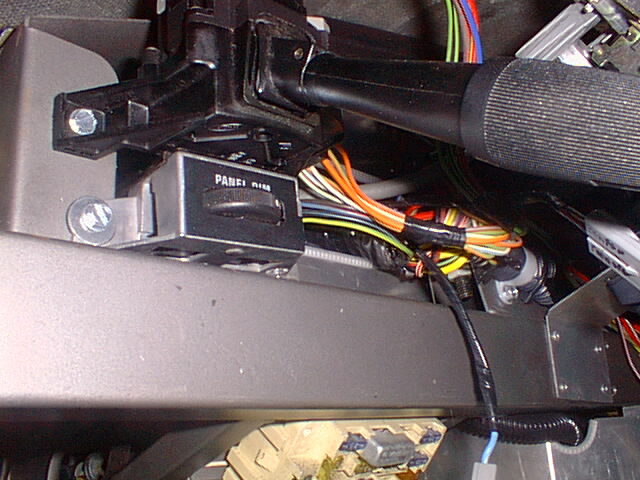
Turn signal stalk & dimmer. I plan on replacing it with one
of Russ Thompson's |

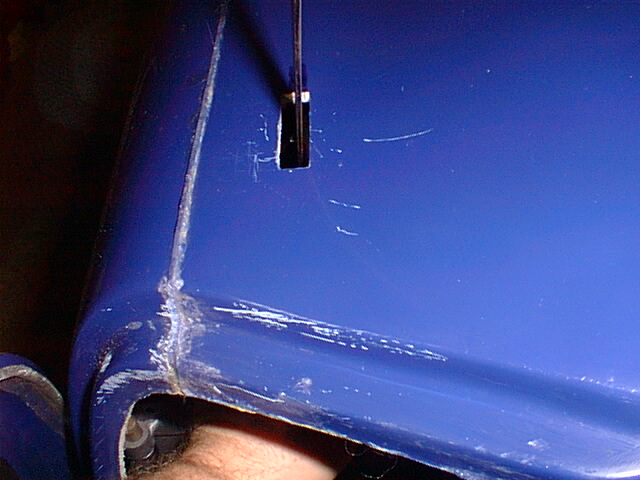
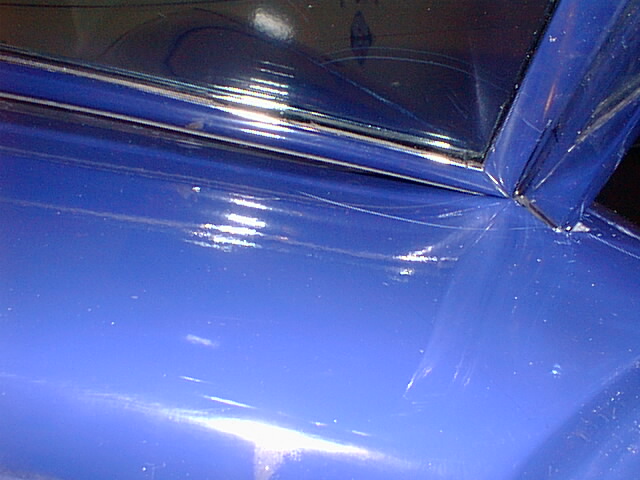
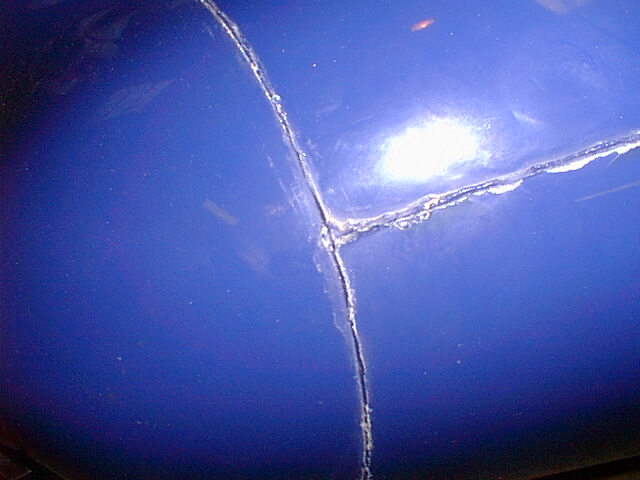
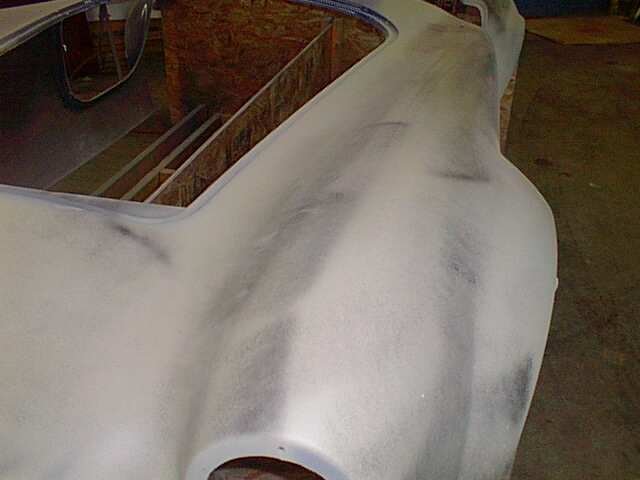
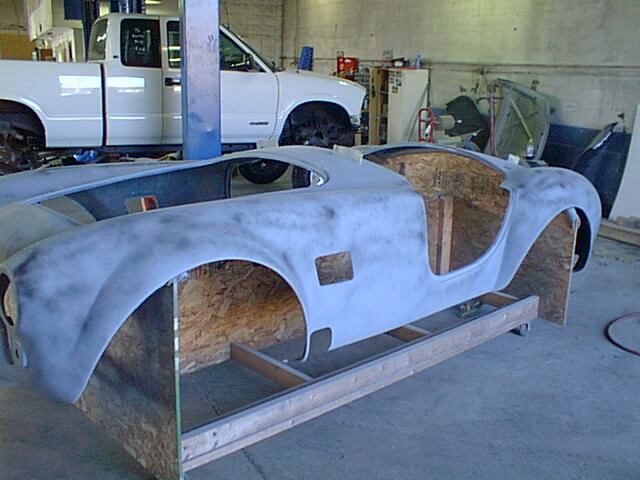
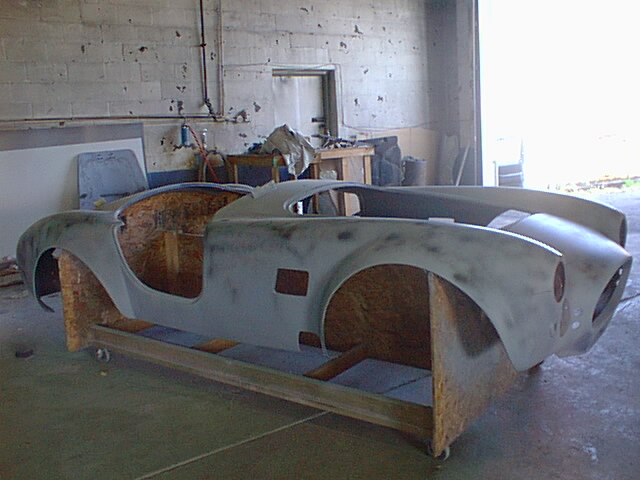
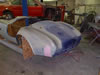
Typical body seams |
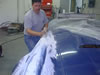
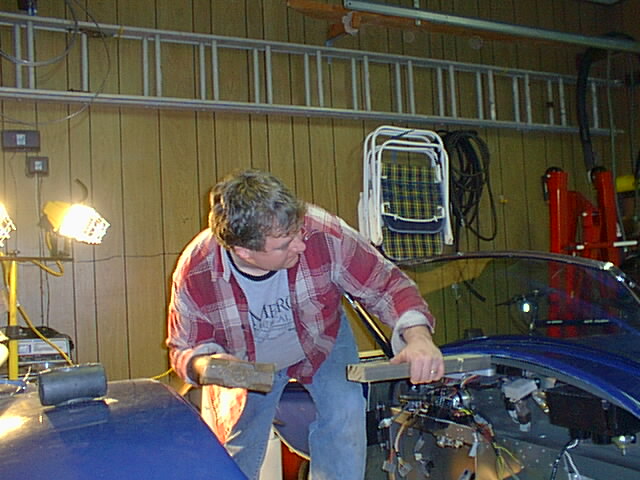
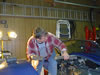
Gary (Hoopy) sanding the seams. Looks like he's having fun |
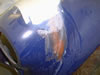
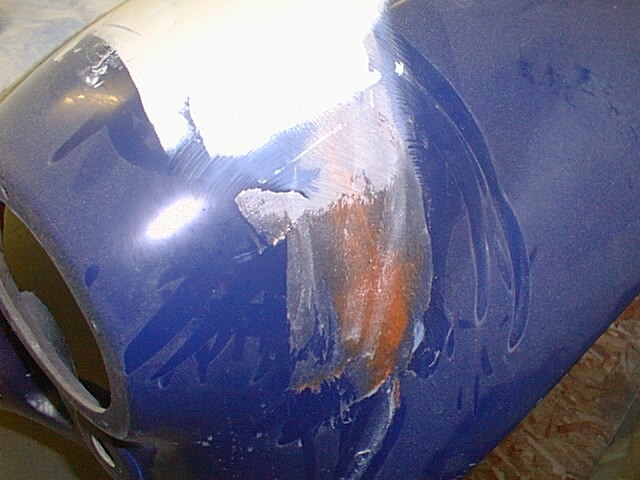
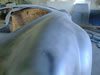
Front seam after grinding it down and filling with Duraglas |
More seams |
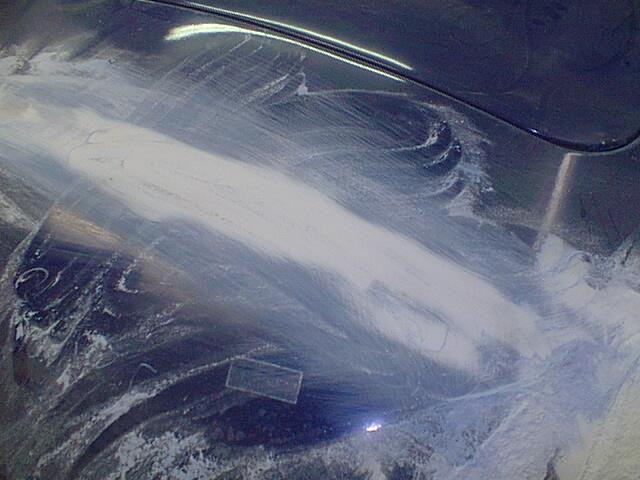
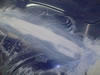
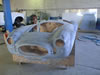
Front seams after more sanding and filling |
Second cut on the rear seams |
|

|

Gary bonded the hood hinge to the hood using an automotive adhesive
called Fuzar (sp). It needs some more finishing but it's not
moving
|

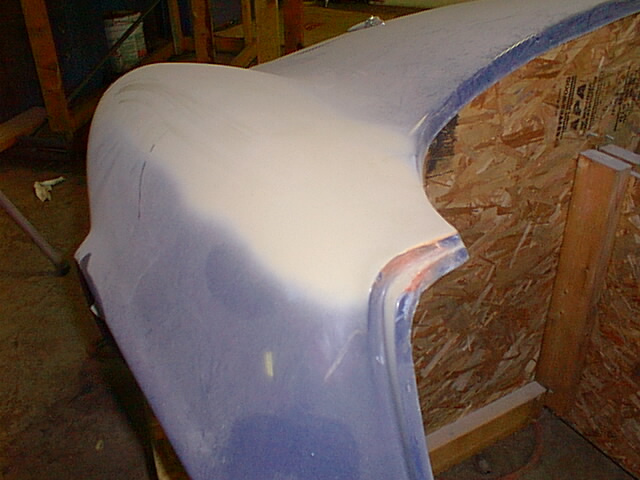
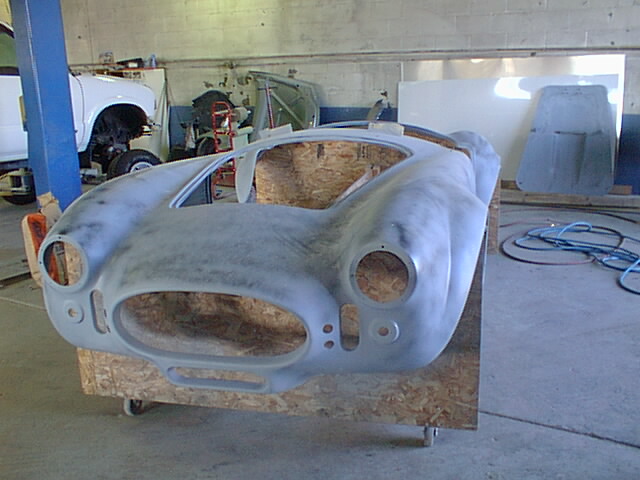
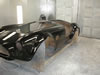
After more sanding and filling |
What seams? |

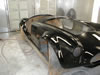
Almost ready for paint |
It needs some more fine sanding and the openings need smoothed
out |
 |
|
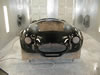
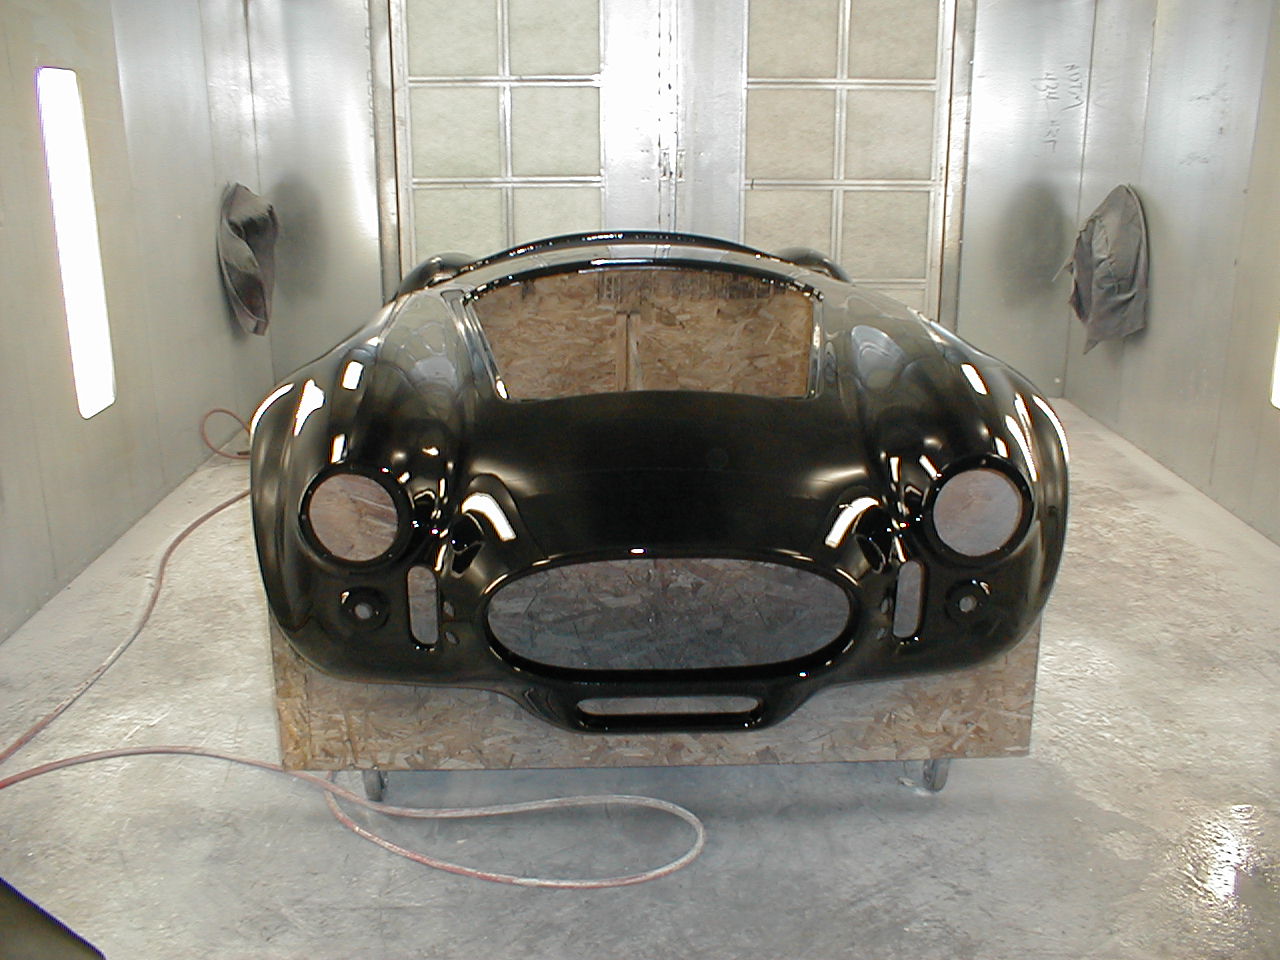
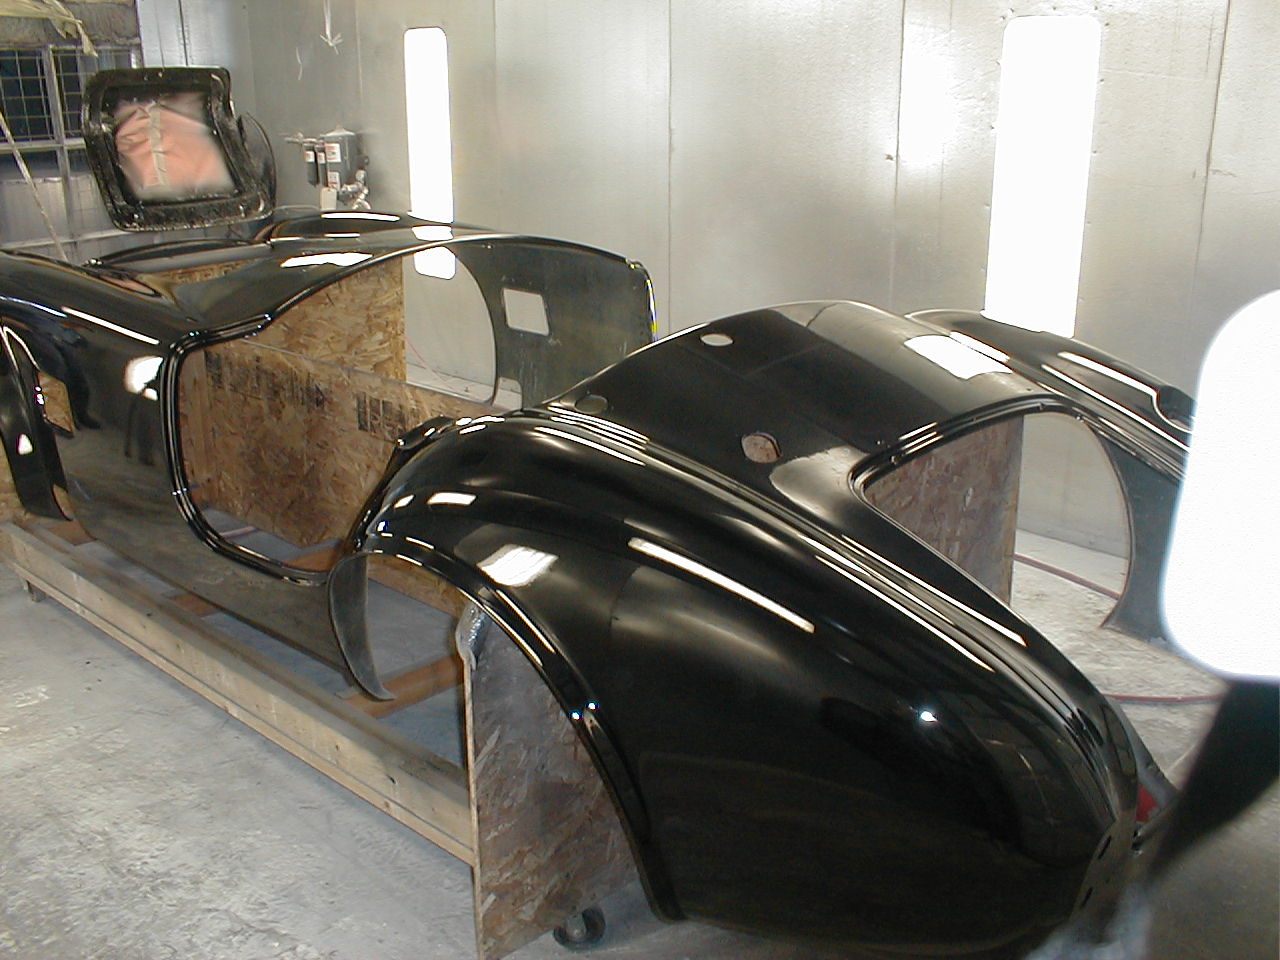
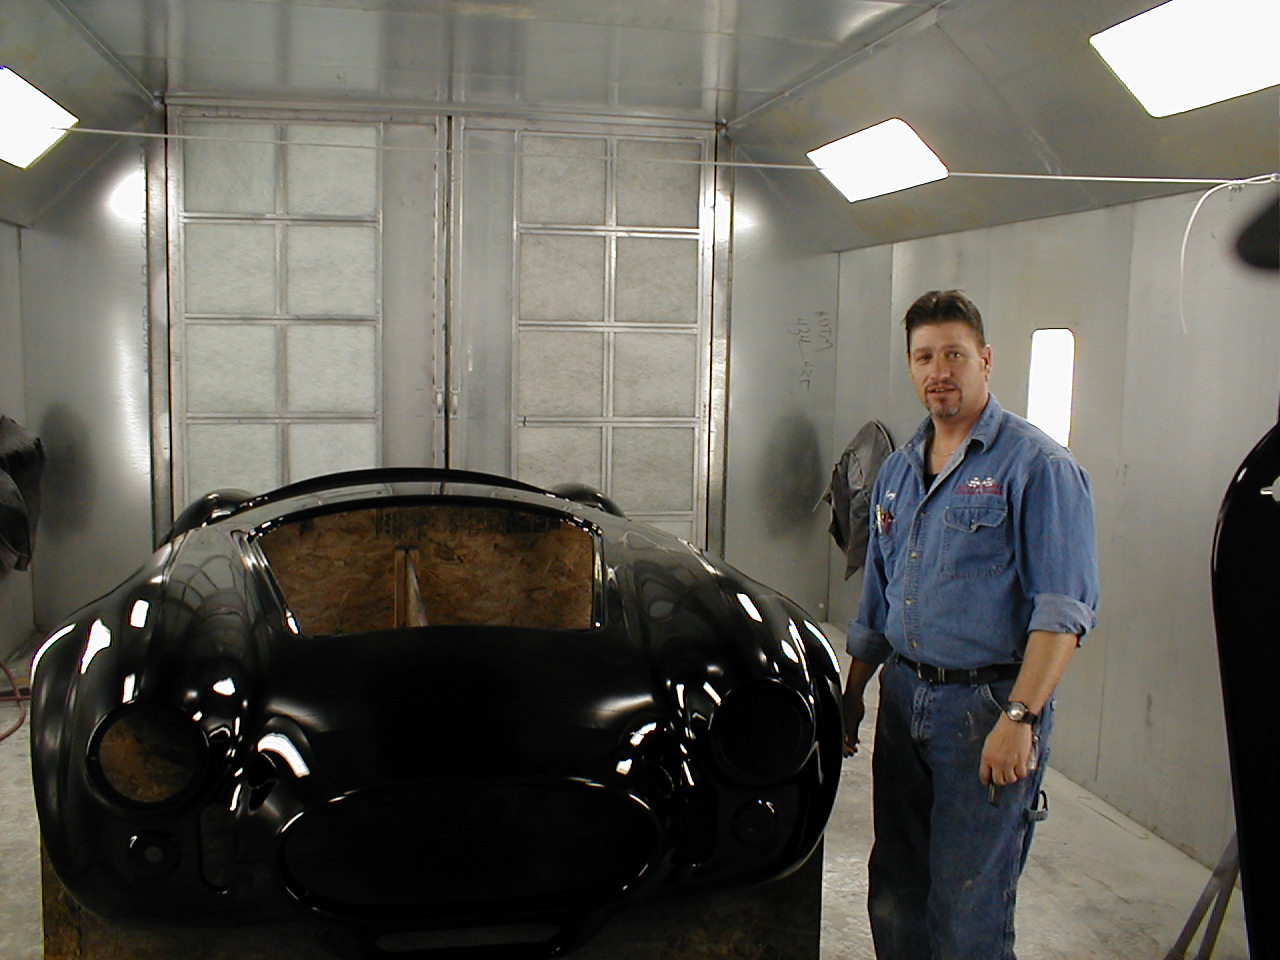
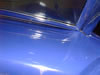
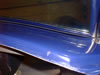
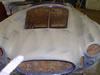
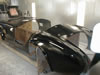
It's finally black but it's not right !
|
I wasn't happy with the body at ths point so after ten months
of waiting I found another shop to finish it
|
The work on the seams was top notch but he painted it before
properly finishing the edges
|
If you're building a car and farming out the body work heed
this advice.
Get a contract that specifies every aspect of the paint and
body work, including a time frame !
|


|