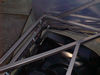
|
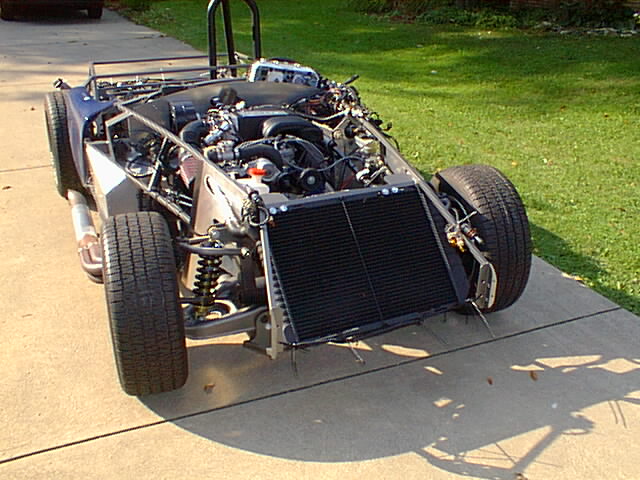
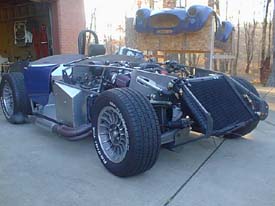
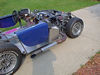
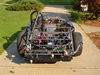
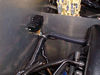
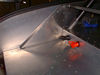
Ready
for a cart ride
|
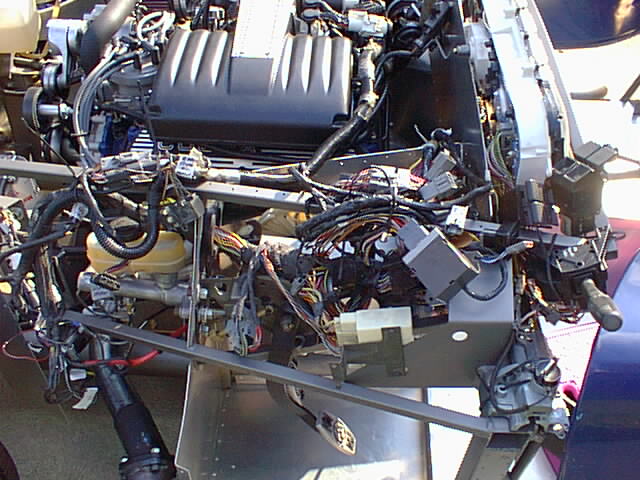
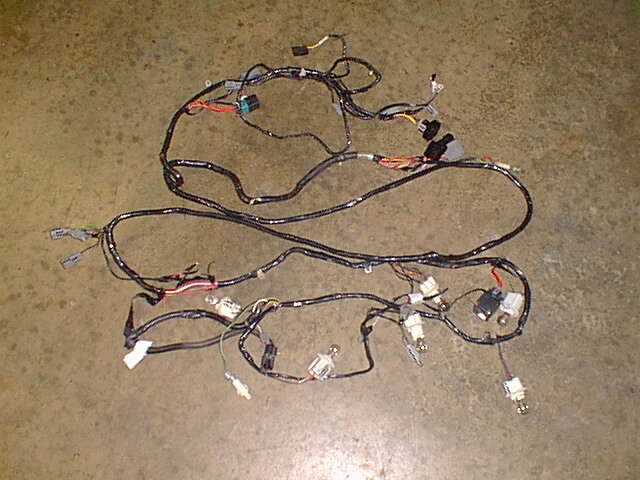
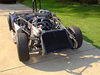
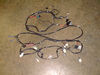
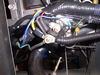
Now that it runs, the next job is cleaning up the wiring harness
|
|
|

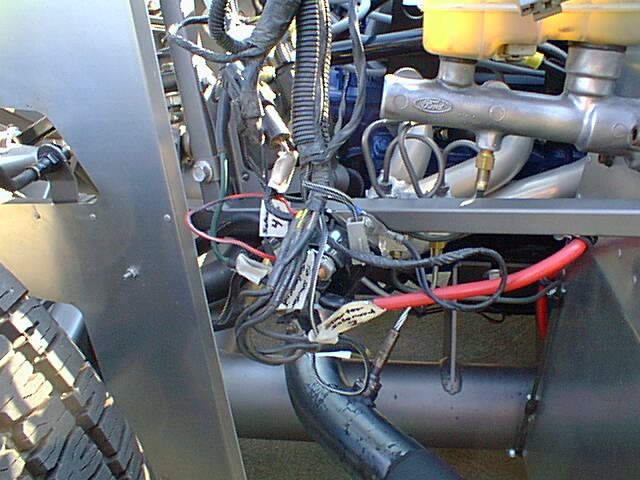
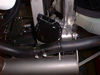
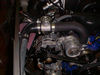
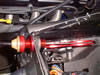
Coil
& starter solenoid
|
|
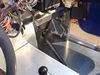
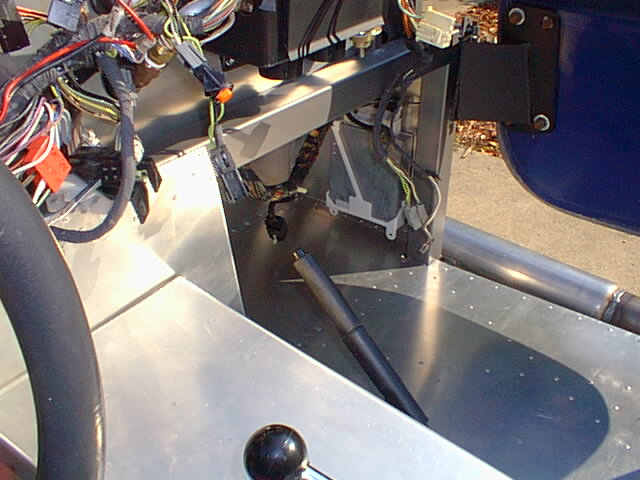
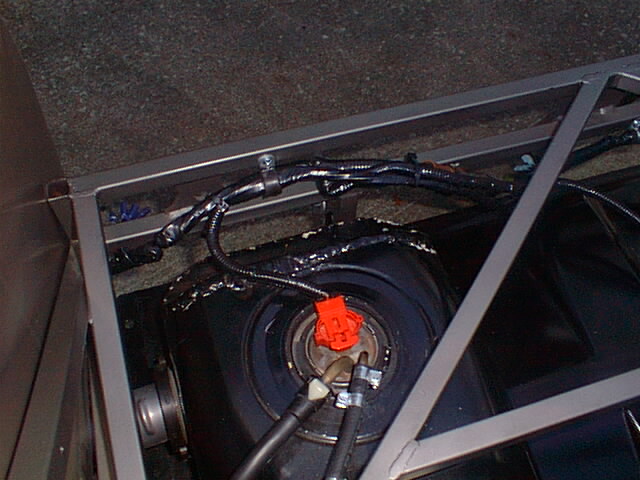
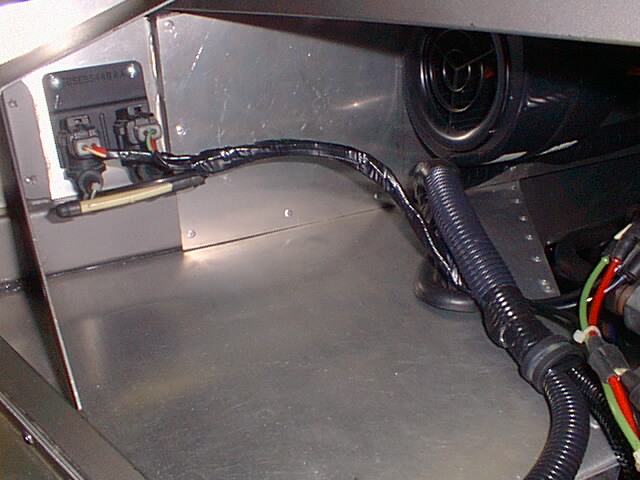
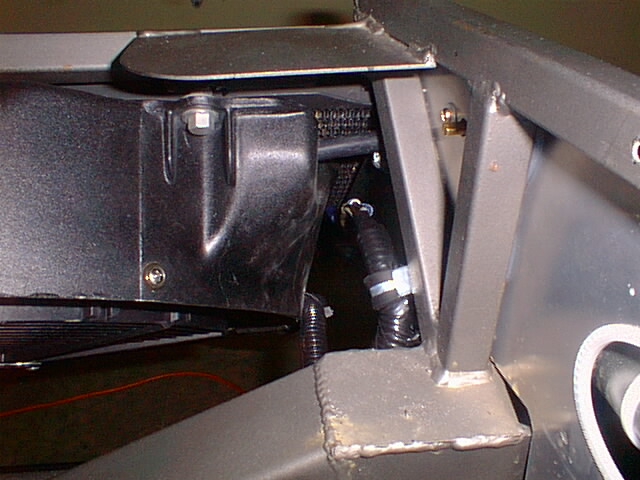
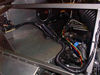
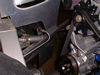
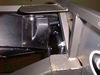
The computer fits in the footbox
|
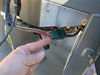
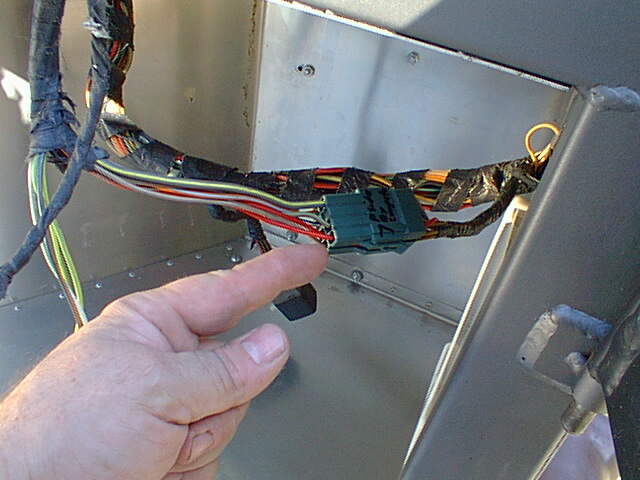
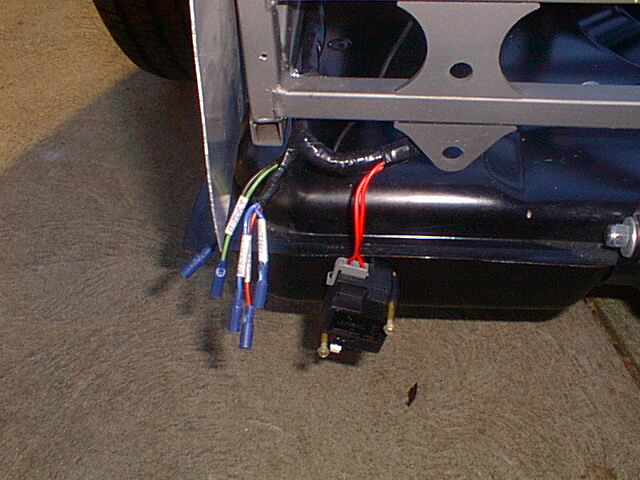
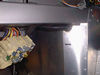
If you don't hook up this connector located by the computer
your fuel pump wont run.
|
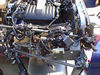
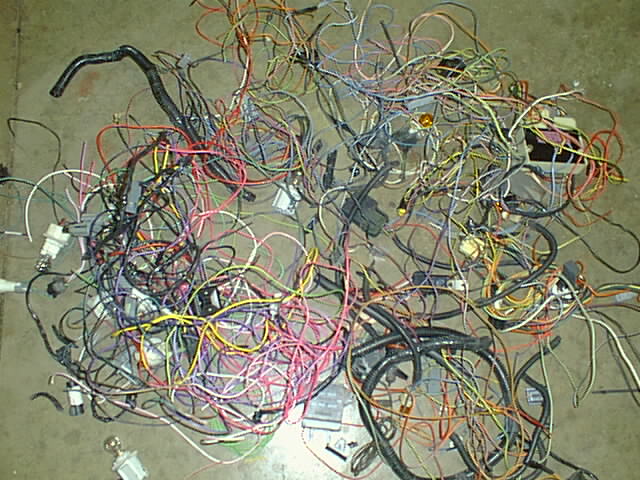
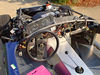
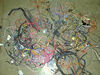
A mess O'
wires!
|

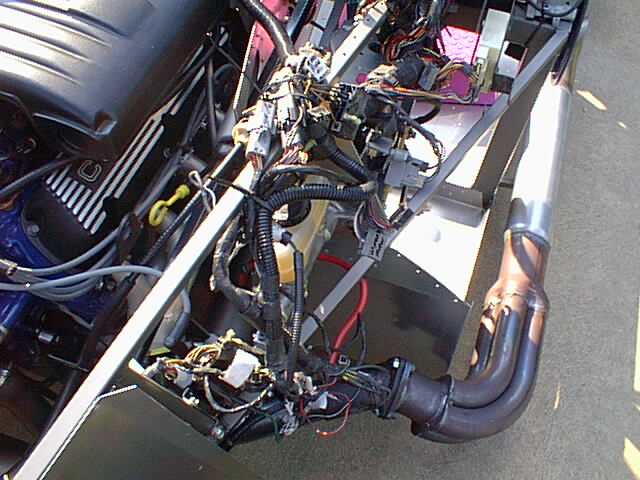
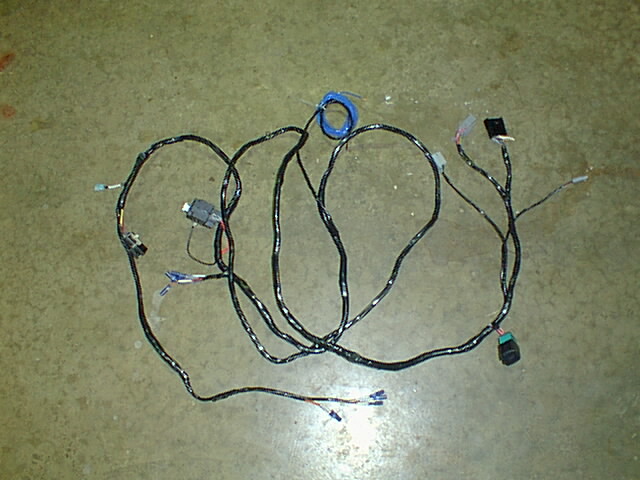
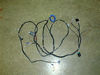
A few more
wires.
|

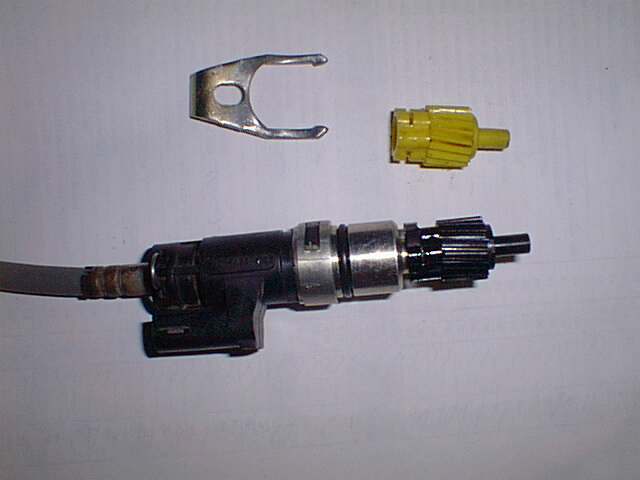
New Speedometer gear. Use a black (20 tooth) gear for a 3:55
rearend.
|
|

I like this picture
and I needed something to fill this hole
|
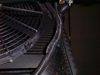
Rear harness prior trimming. |
Rear harness after
trimming. I removed wires for power seats, mirrors, speakers,
hatch solenoid, gas door solenoid, defroster, etc.
|

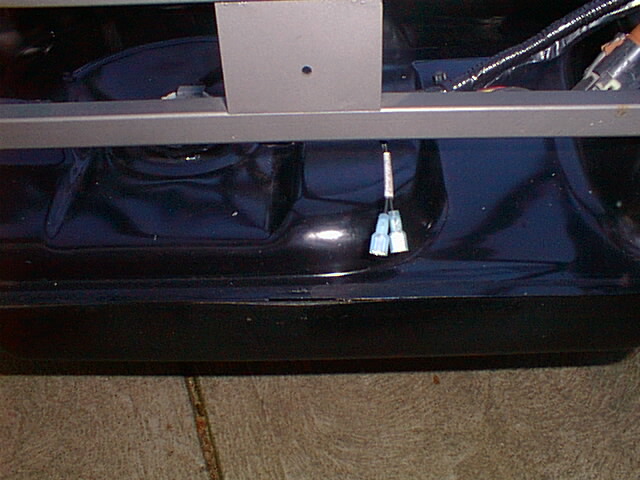
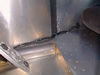
Passenger side rear
connectors. I used female bullet connectors to mate with the
male bullet connectors that are pre-installed on the lights.
|
Rear harness routing
|
|
I left connectors for backup lights in case I want to add them.
(They don't come with the kit.)
|

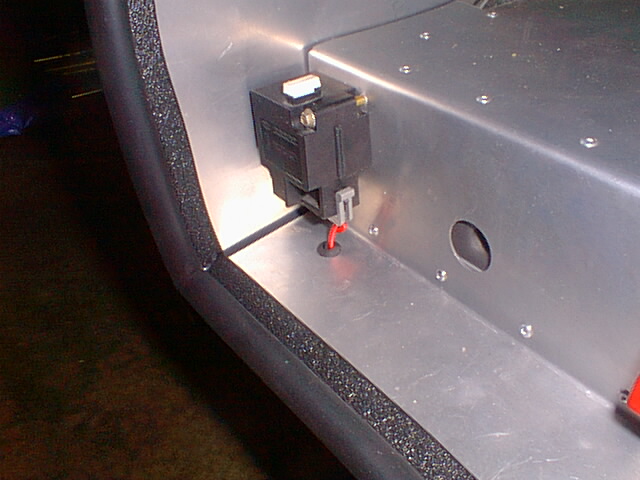
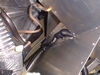
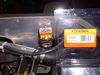
Drivers side rear
harness and inertia fuel cutoff switch.
|
Rear harness routing
|

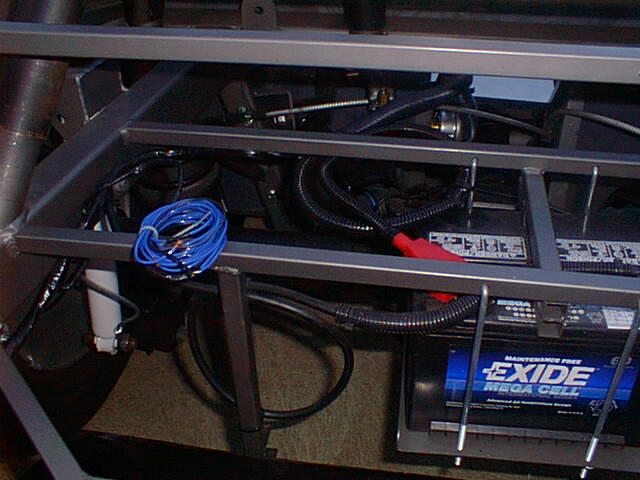
Rear harness routing
(The extra loops on battery cables allow it to be dropped for
maintenance.)
|

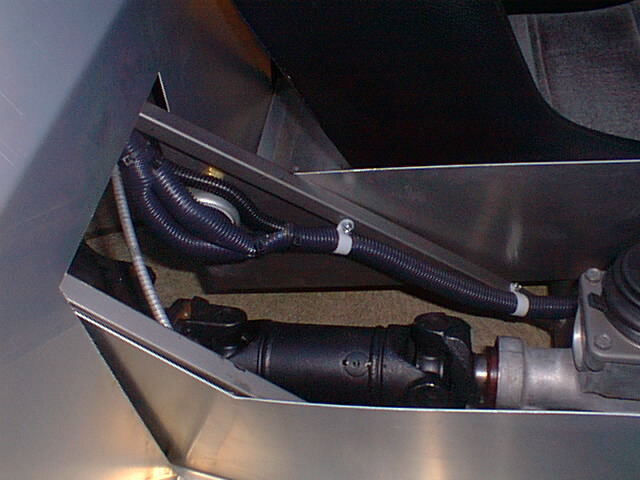
Rear harness routing
past the battery cutoff switch.
|
|
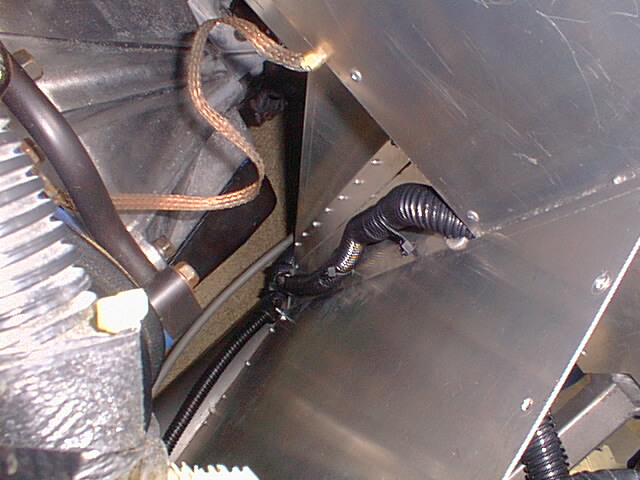
Rear harness routing
up the front of the drivers footbox.
|
Rear harness enters
the drivers footbox.
|
Transmission harness
routing.
|
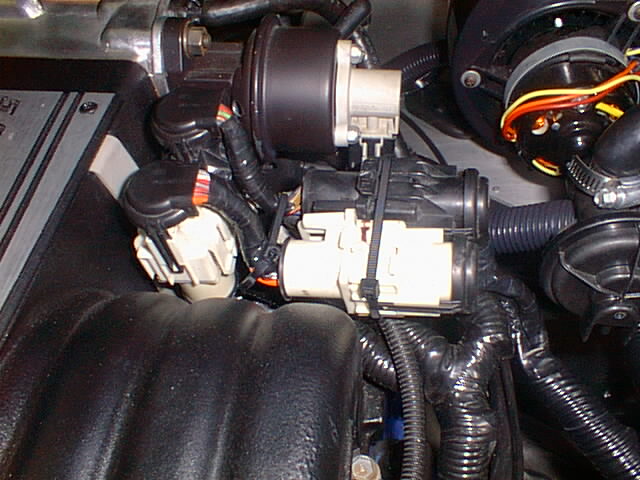
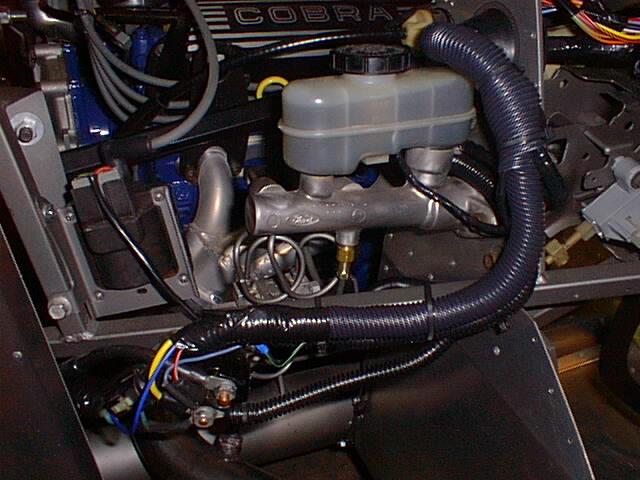
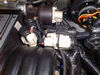
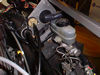
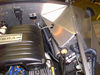
Engine Harness and emission
vacuum lines |

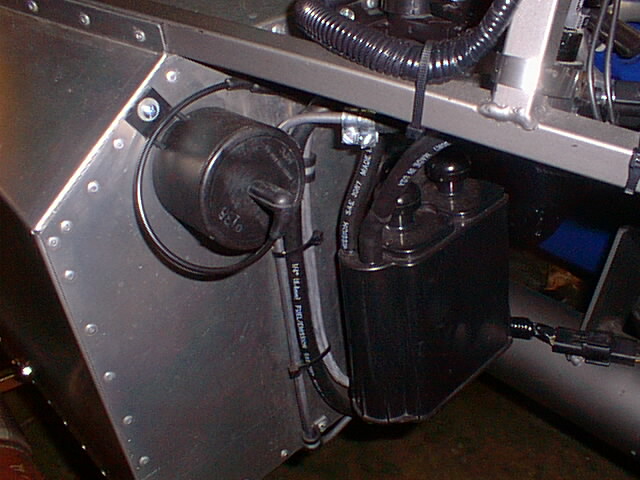
Emission control valves |
|

Vacuum canister
|
 |
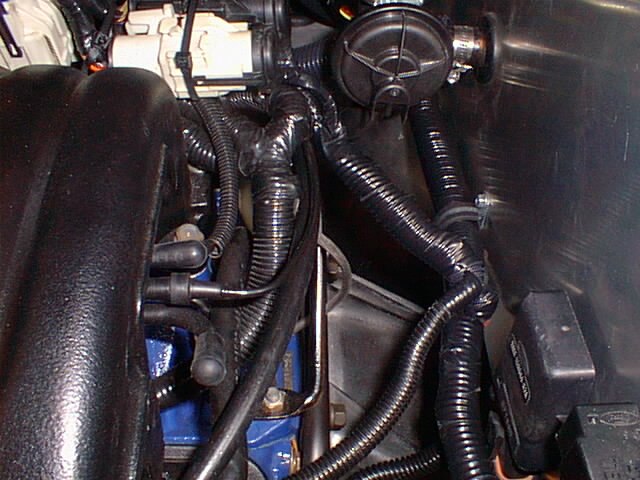
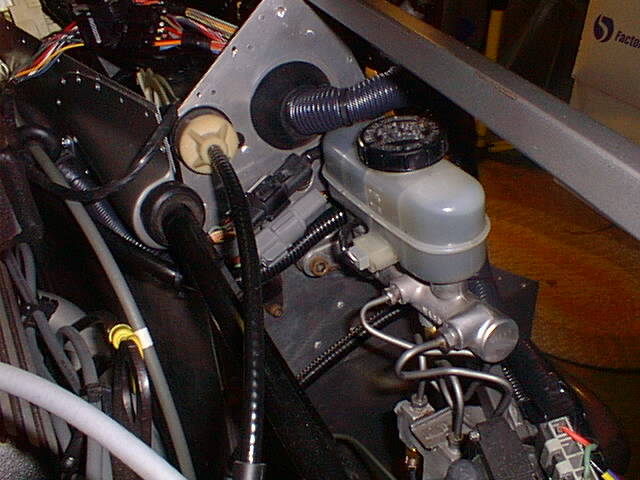
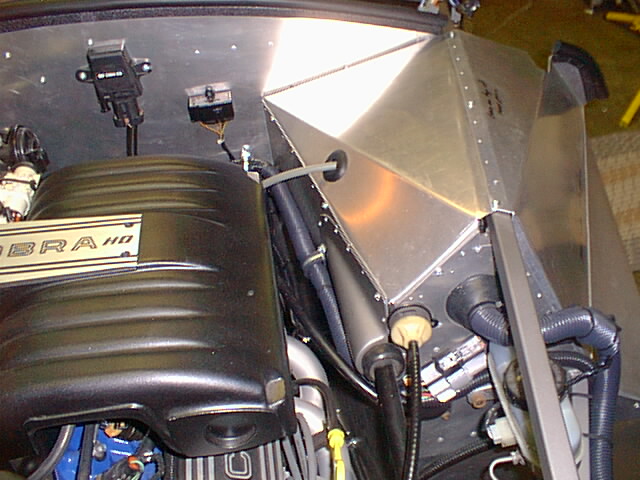
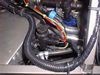
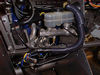
I routed the engine
harness along the firewall |
More of engine harness
(It would clean things up if you run the harness through the foot
box here) |
|
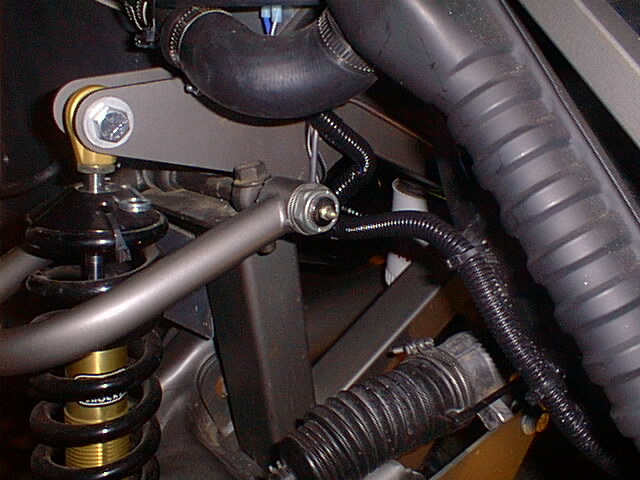
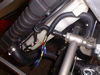
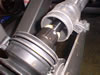
Horn & lower radiator
hose (I installed the plastic to prevent chafing)
|
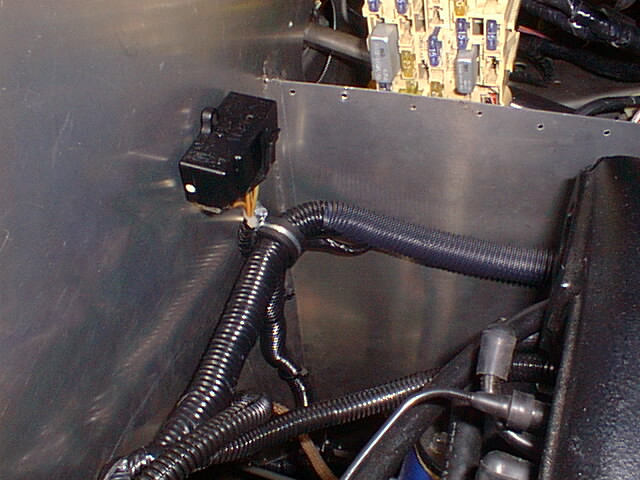
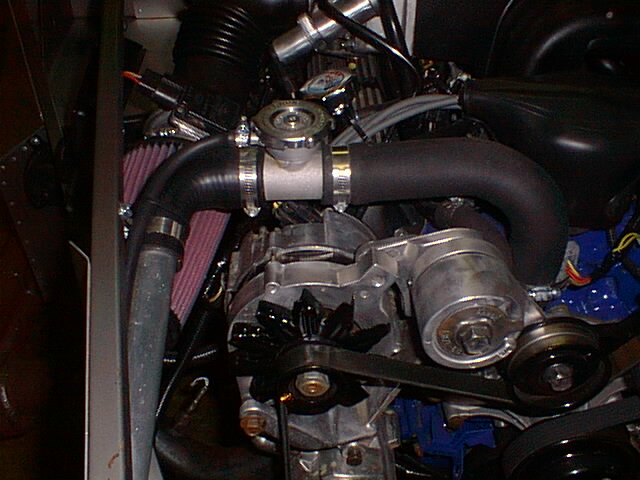
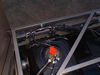
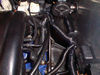
My take on engine harness
routing |
More routing
|
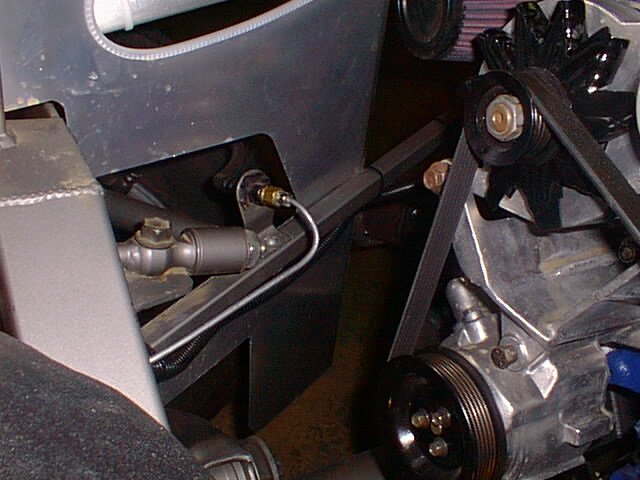
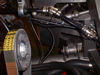
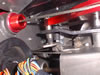
Starter Solenoid
|
Headlight & Alternator harness routing
|
|
Headlight & Alternator
harness routing
|
Headlight & Alternator
harness routing
|

Headlight & Alternator
harness routing
|
Headlight & Alternator
harness routing
|
Headlight & Alternator
harness routing
|
|
Cooling fan Thermostat
|
Thermostat location
|
|Radiator Filler T
fitting and overflow hose
|
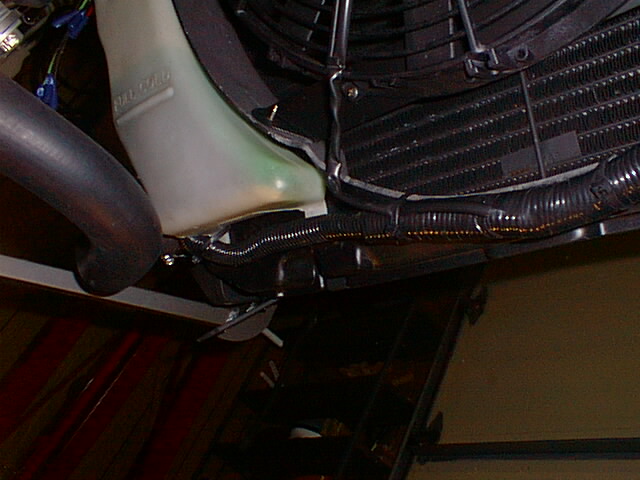
I routed the overflow
hose through the fan shroud
|
Extra "stuff"
removed from the wiring harness.
|
|
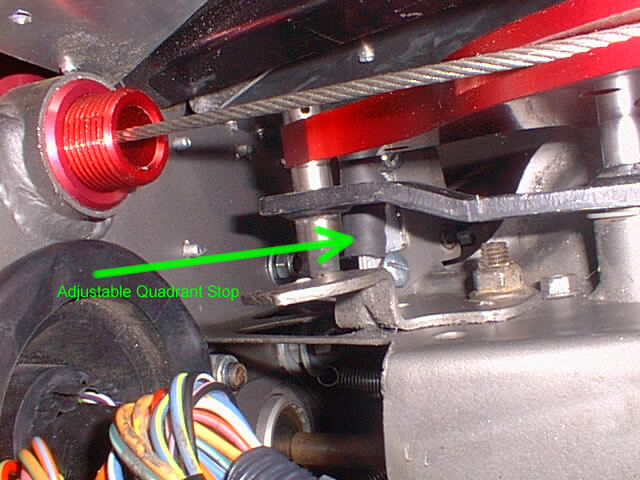
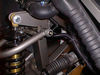
Forte's clutch quadrant
and adjuster. Note the pedal stop under the clutch arm
|
Fortes clutch quadrant
|
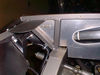
Drivers footbox
(No rivets
yet)
|
Drivers footbox
|
Drivers footbox.
|
|

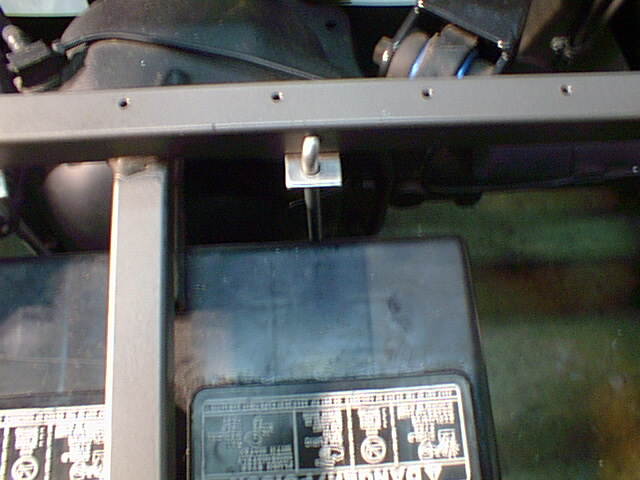
Aluminum tab keeps
the battery tray hooks from falling out if they loosen up.
|

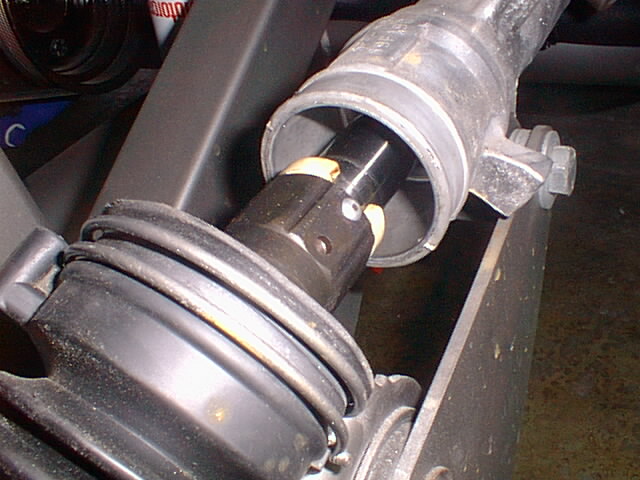
Inertia cutoff switch
|
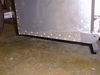
Remote battery terminals
|
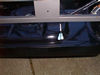
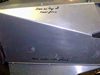
Trunk aluminum.
|

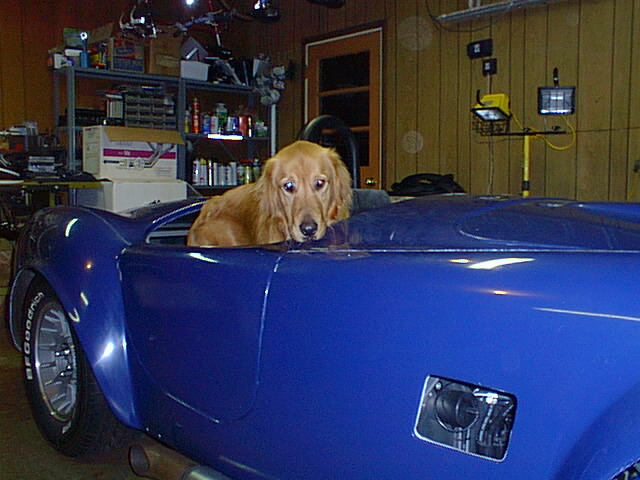
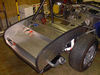
Body's on!
(Unhappy Cobra dog.)
|
|
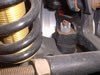
Things I fixed
Cracked Balljoint
boots
|
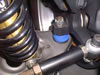
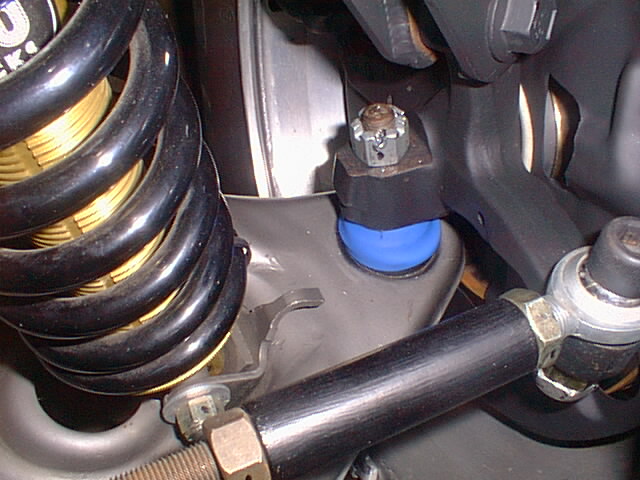
Things I fixed
I replaced the boots
with poly boots from Energy Suspensions
|
Things I fixed
Steering stops allowed
the wheels to hit the lower control arms
|
Things I fixed
I made wider steering
stops from PVC pipe
|

Things I fixed
Passenger side header
hit the mount. I ground the mount and dinged the header
|